 |
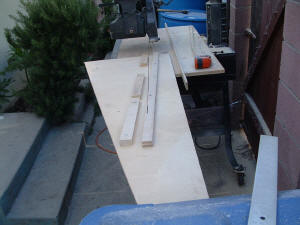
The first step after cutting the fins was to make the ribs
needed to give the fins their profile. In order to cut these ribs, we
made a sliding jig. |
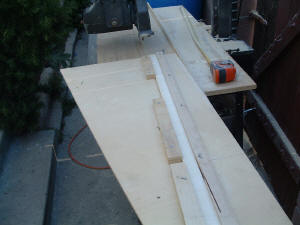 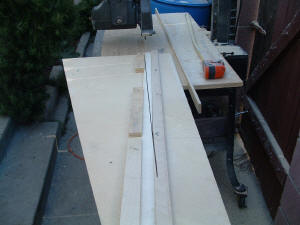 |
Raw material (3/16 plywood X 1" thick) was placed in the
jig. Sliding the jig against the stop produced the angled cut needed. |
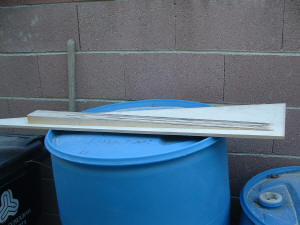 |
6 ribs cut an ready for attachment on the fins. |
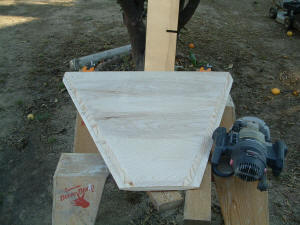 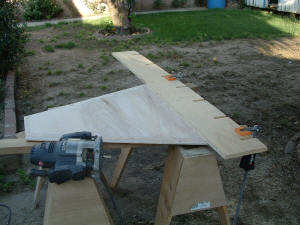 |
Here's a shot of the fins with leading and trailing edges
tapered. Before the ribs can be applied, the slots for centering rings
must be cut. To do this I used a router and the Centering Ring
alignment guide. This guide will ensure that all fin slot are cut
identically. |
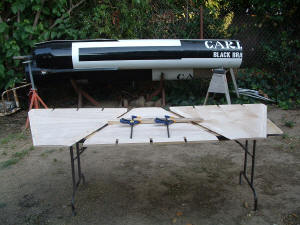 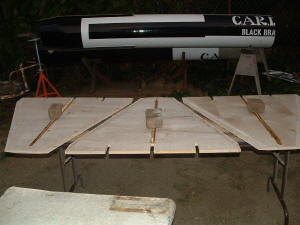 |
Here's the three booster fins and the ribs ready to go.
Next step was to epoxy one side down and weight it. |
| |
|
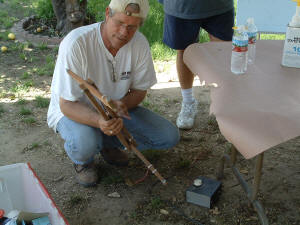 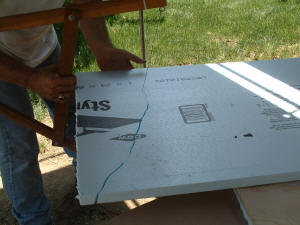 |
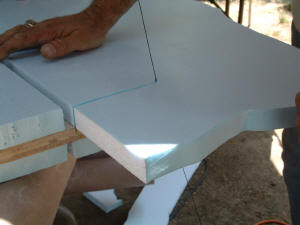
With the ribs attached to both sides it was now time to ct
the foam to a rough shape. The final shape will be done after the foam
is glued to the fin. |
 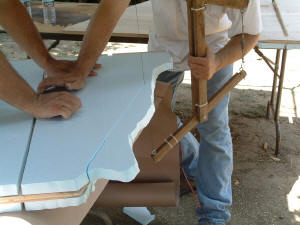 |
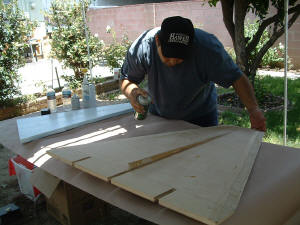
Took a few extra hands, but so far so good. |
| |
|
  |
|
![]()