Lower Sheeting

Home Construction Design Members Launch Report Videos Sponsors


Marking  
bulletCutting the fiberglass that will form the nose cone shroud starts with a length of tube that was cut to length.
bulletThis tube was then split lengthwise into four sections (90 degrees).
bulletUsing tape the the outline of each of the three strips was marked.

Cutting

 
bulletUsing a radial arm saw the strips were cut to the exact shape.
bulletPreviously (in the Nike Project) a scroll saw was used for cutting the strips.


Test fit  
bulletAfter all the strips have been cut to shape I did a test fit onto to the nose cone to measure the exact length needed.
bulletIt's really starting to look like a nose cone now.
Length Truing  
bulletTo cut each strip to the exact length and bevel the forward edge to the proper angle, I build a jig.
bulletThe inclined piece holds the strip at the proper angle, and the forward stop positions it at the exact length.
bulletAll 12 strips are now ready to be epoxied.


Attachment  
bullet
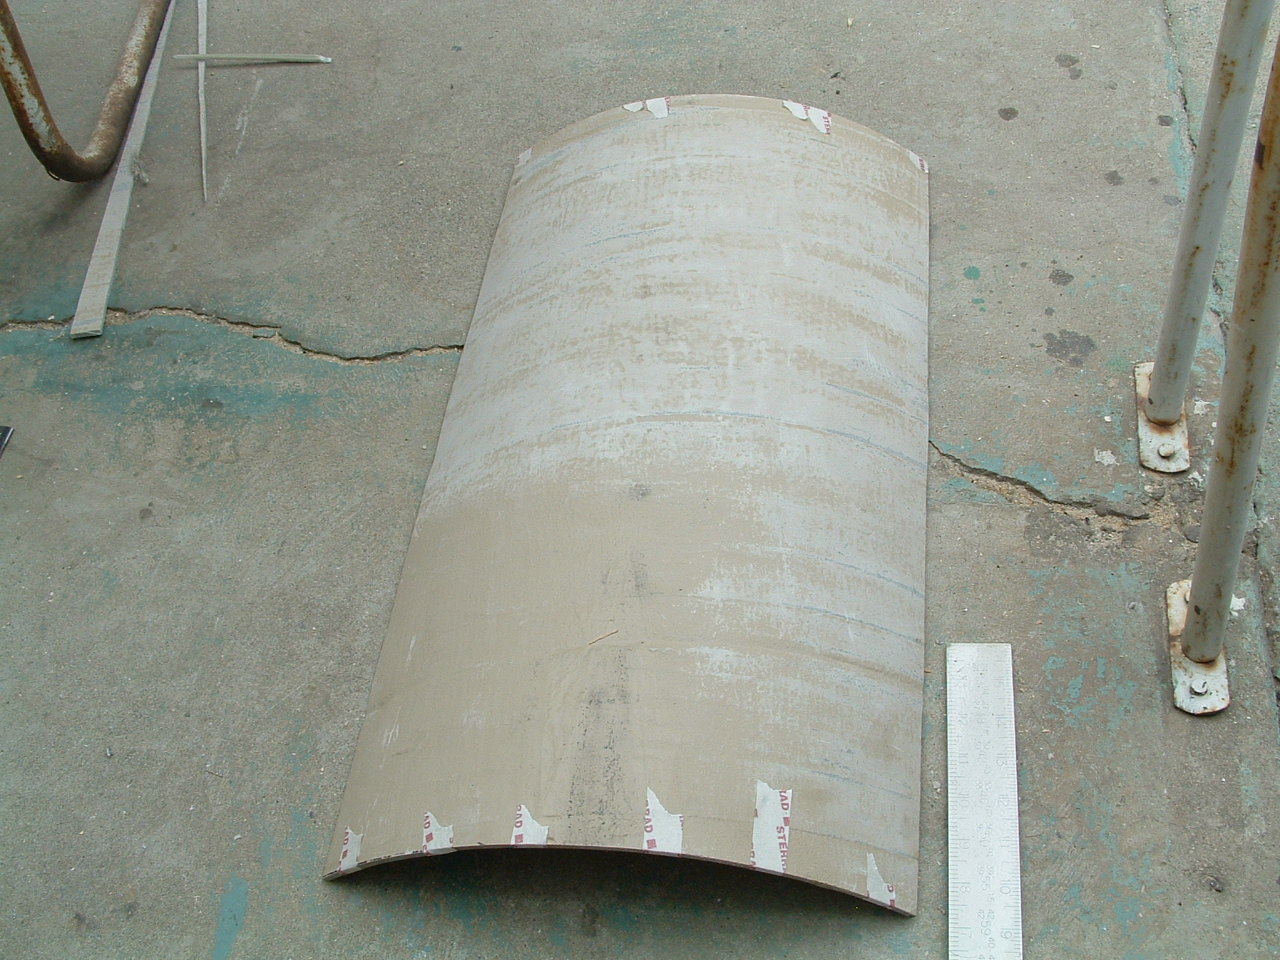
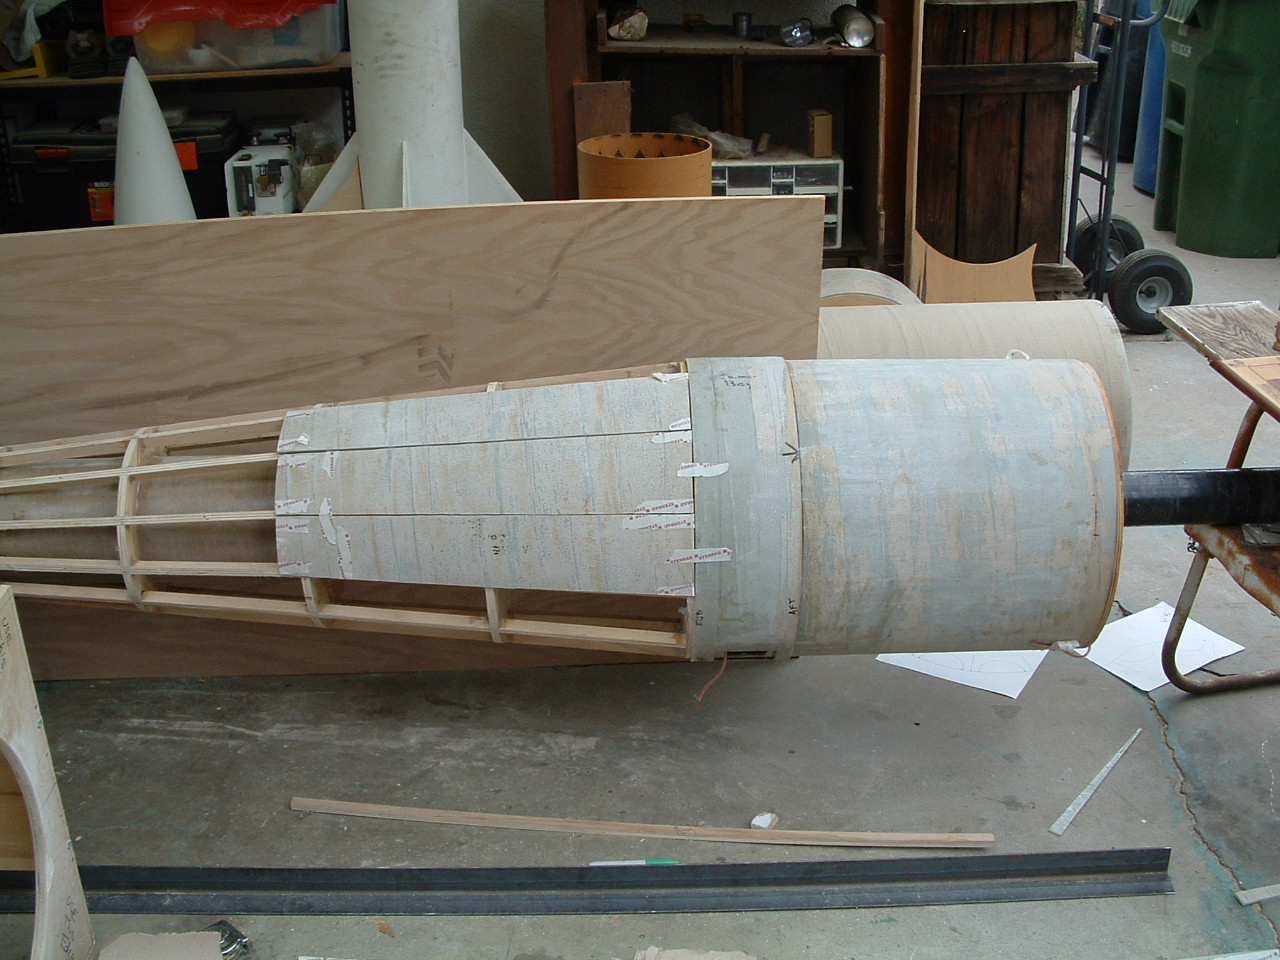
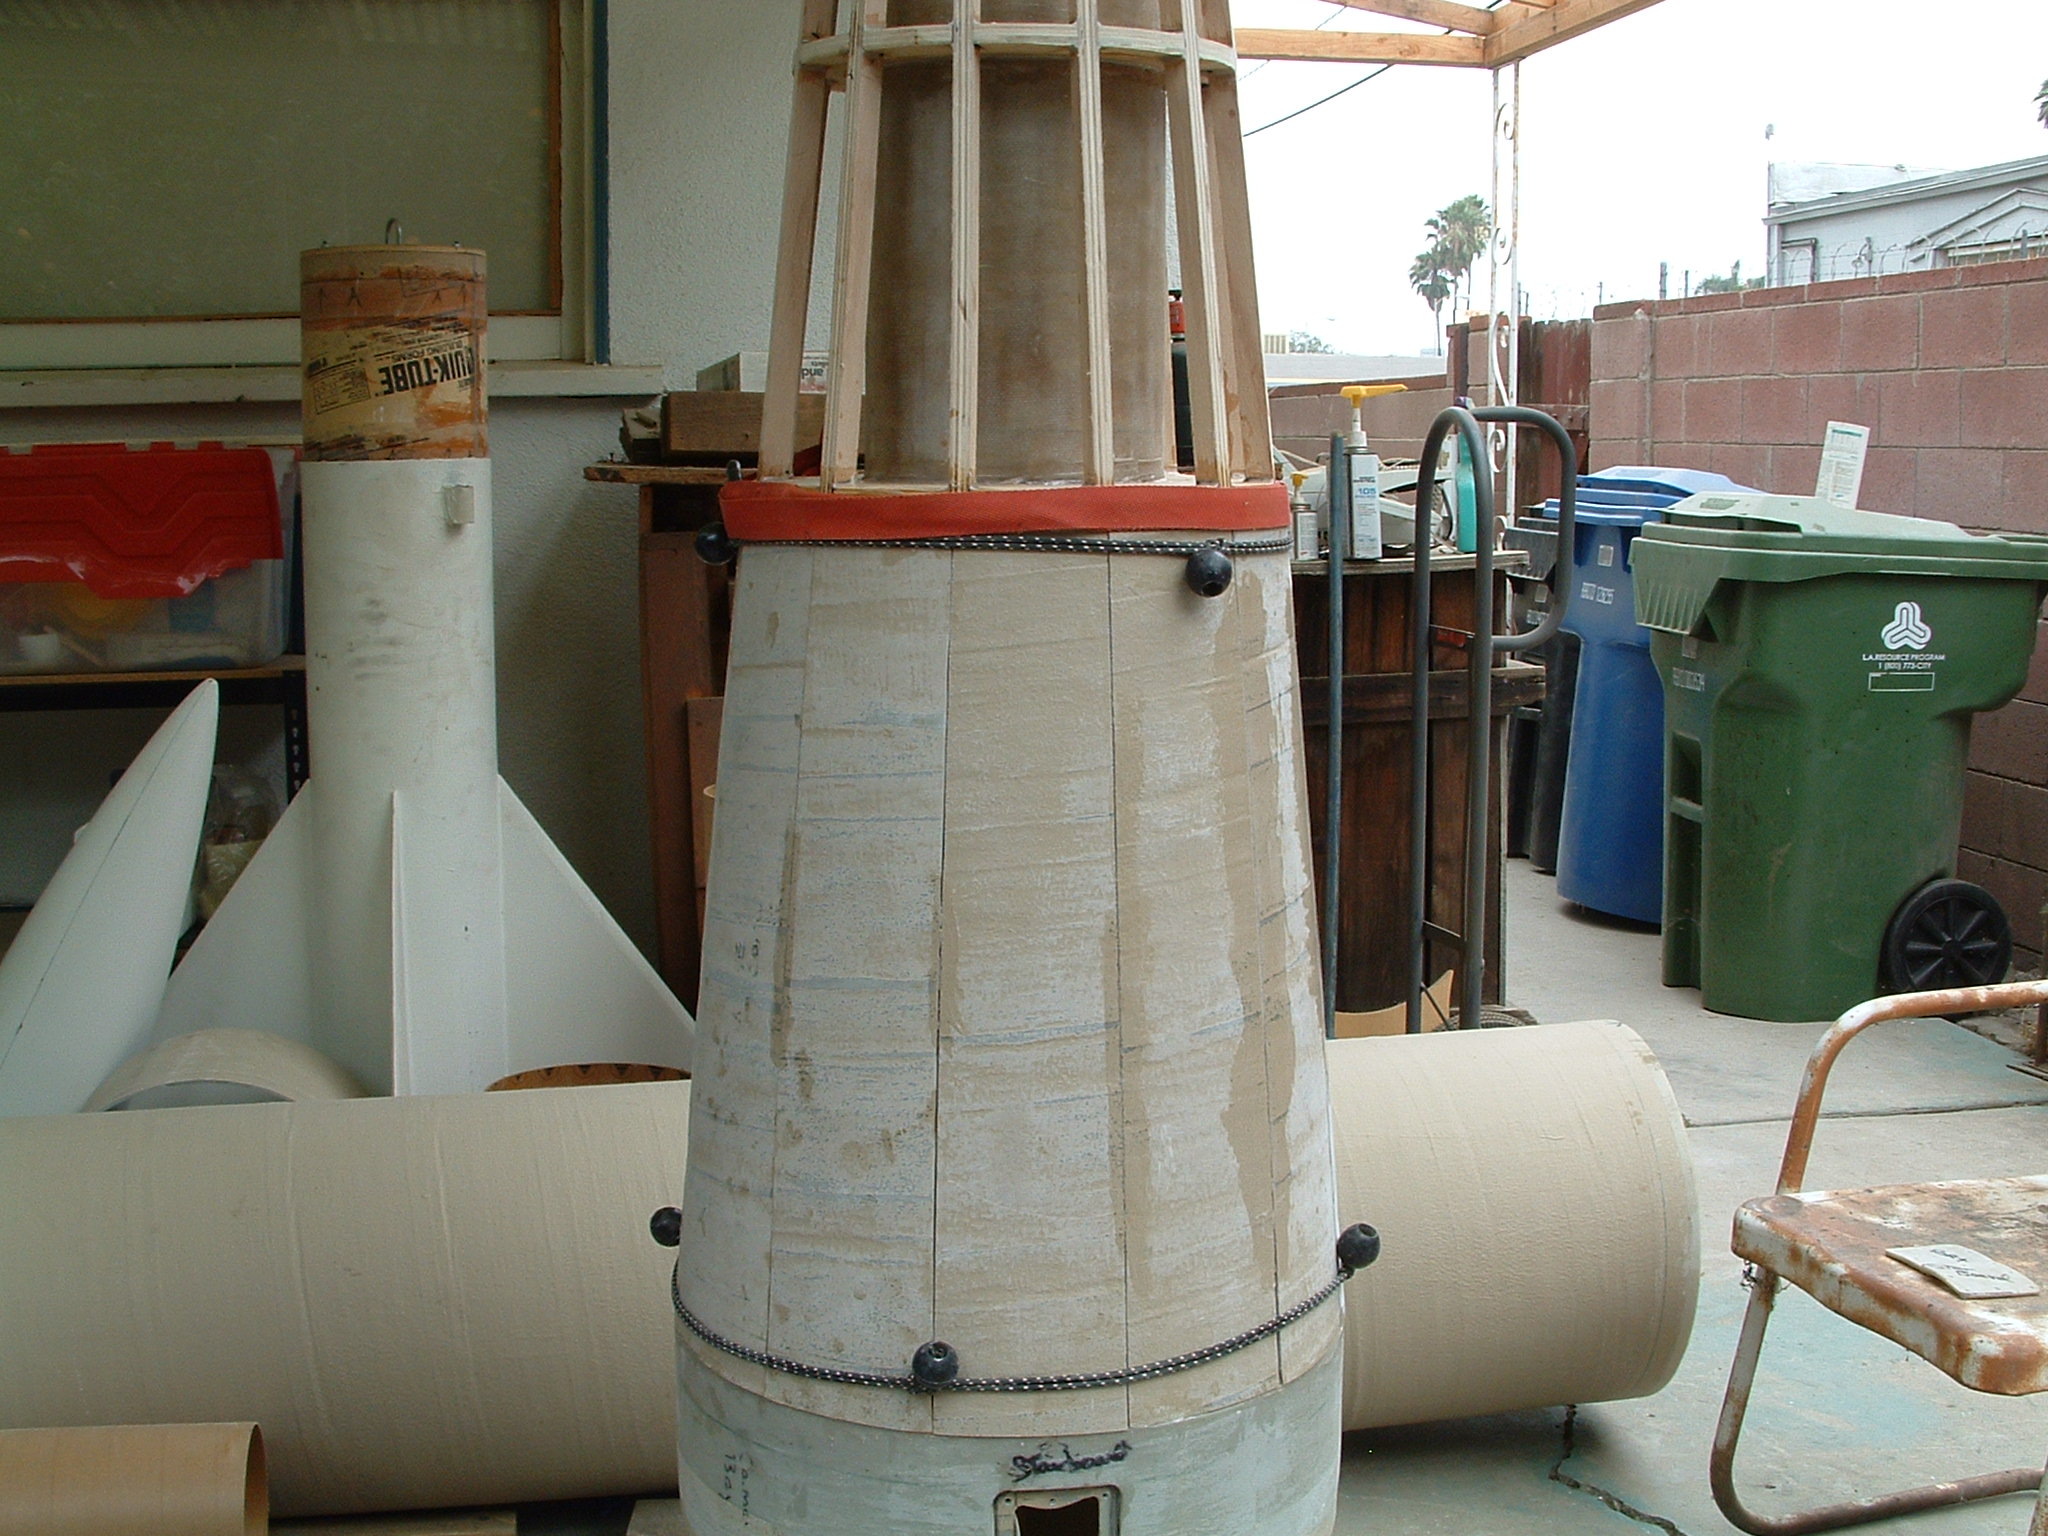
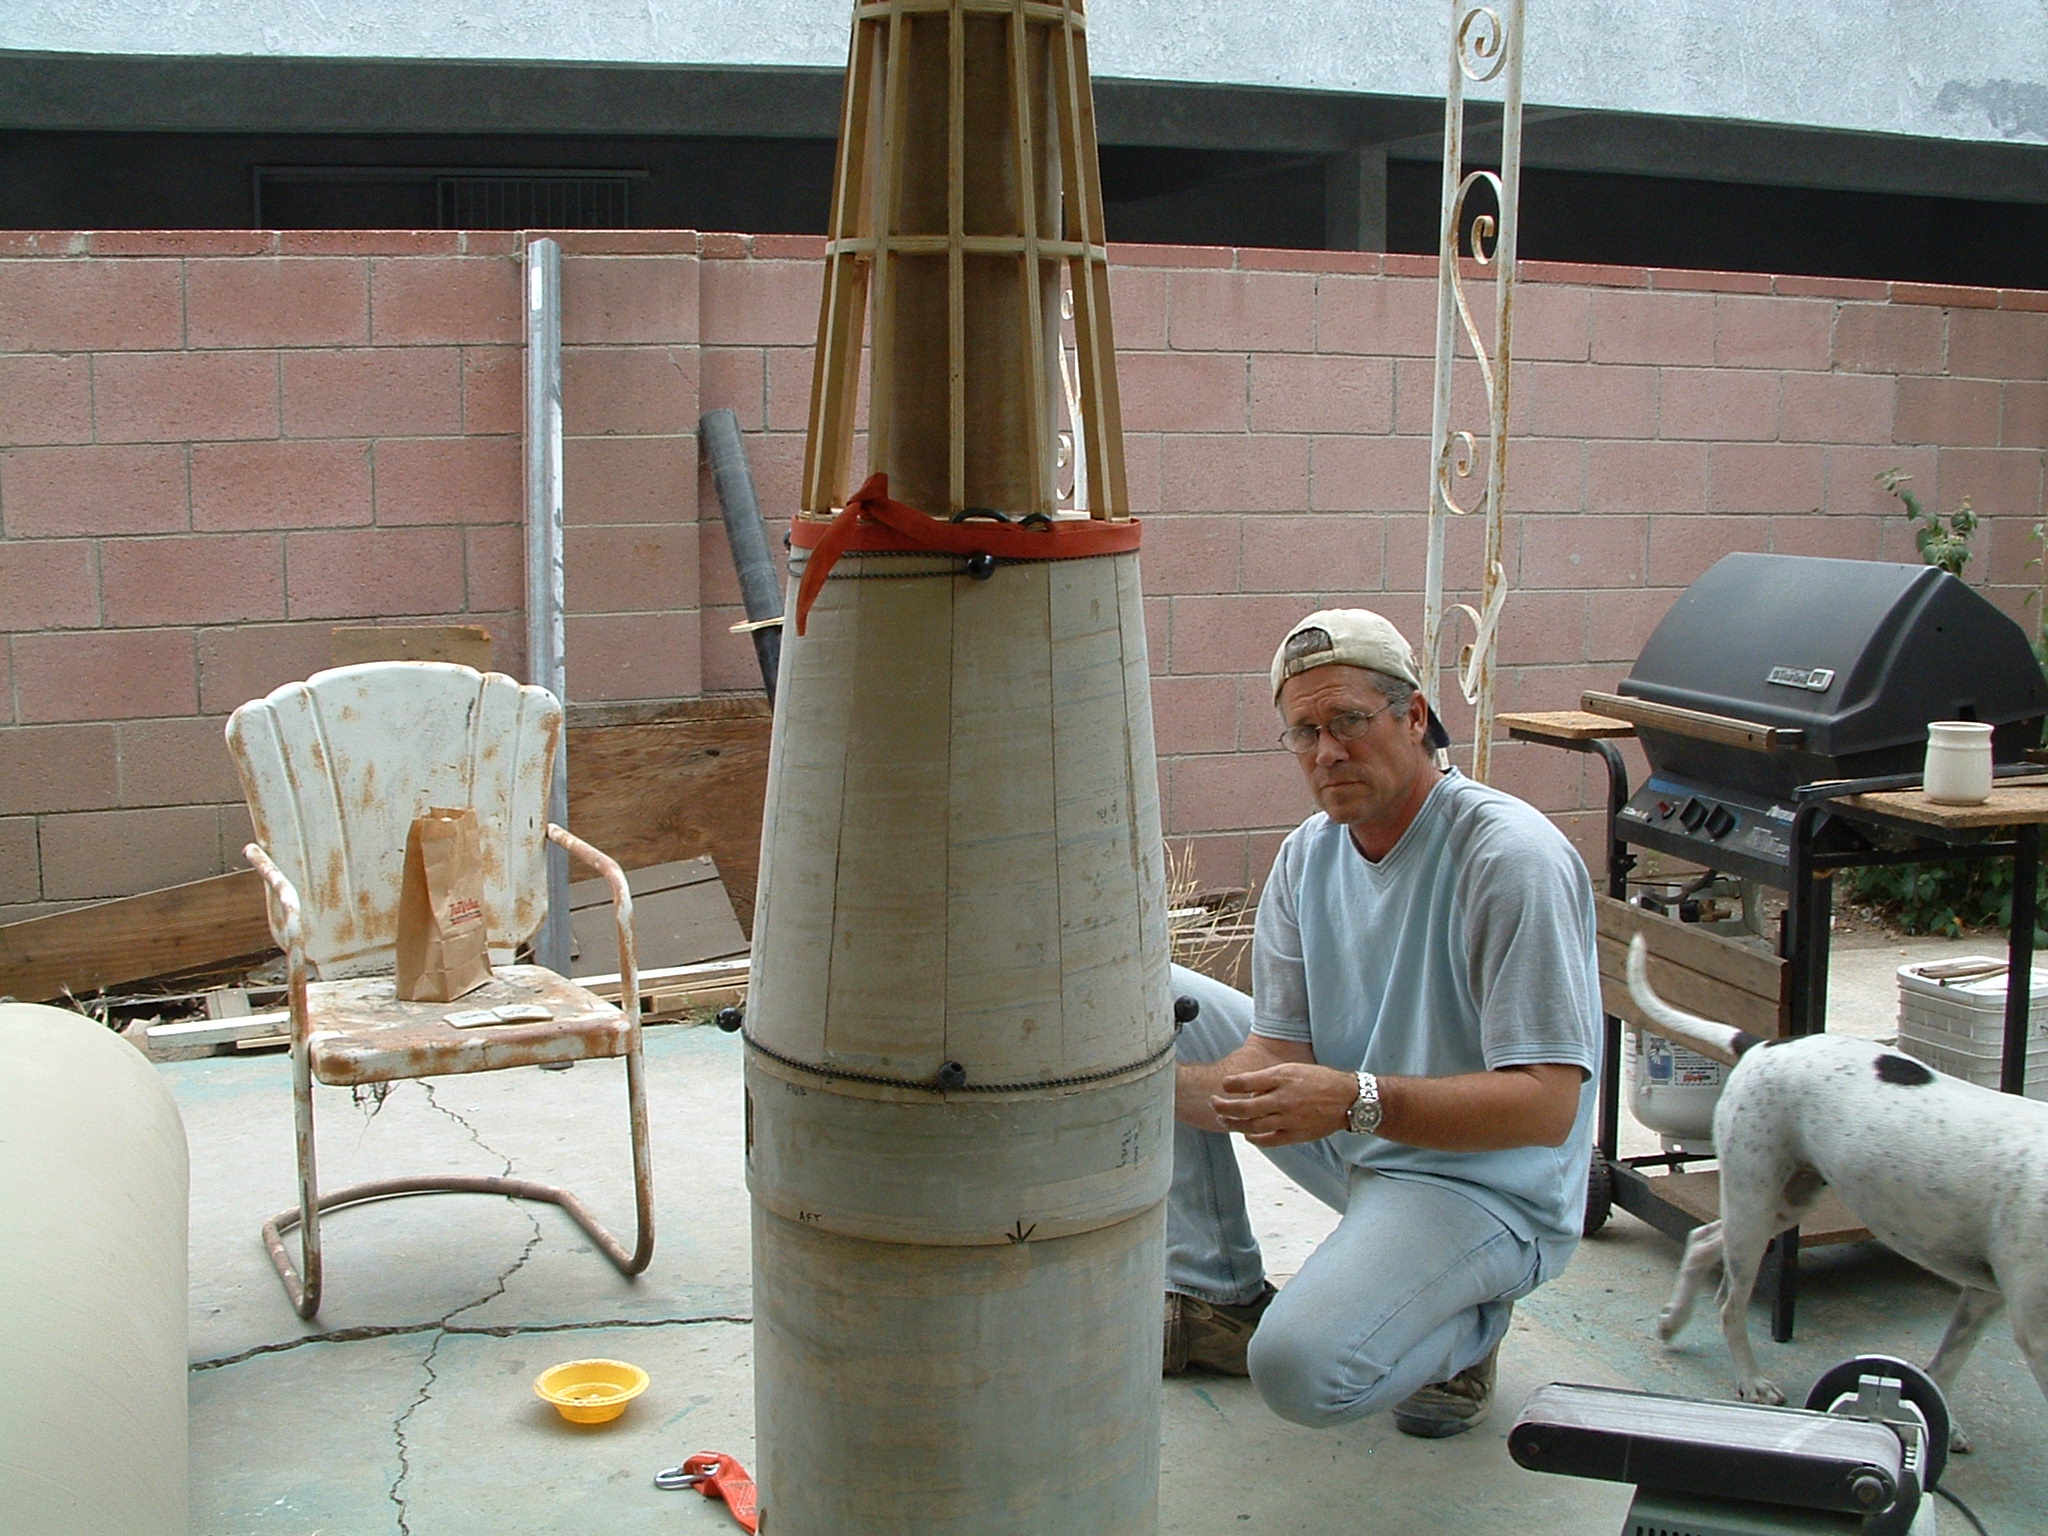
Prior to attaching the sheeting for the nose cone, the ring & rib structure was thoroughly wetted out with straight epoxy.
bullet
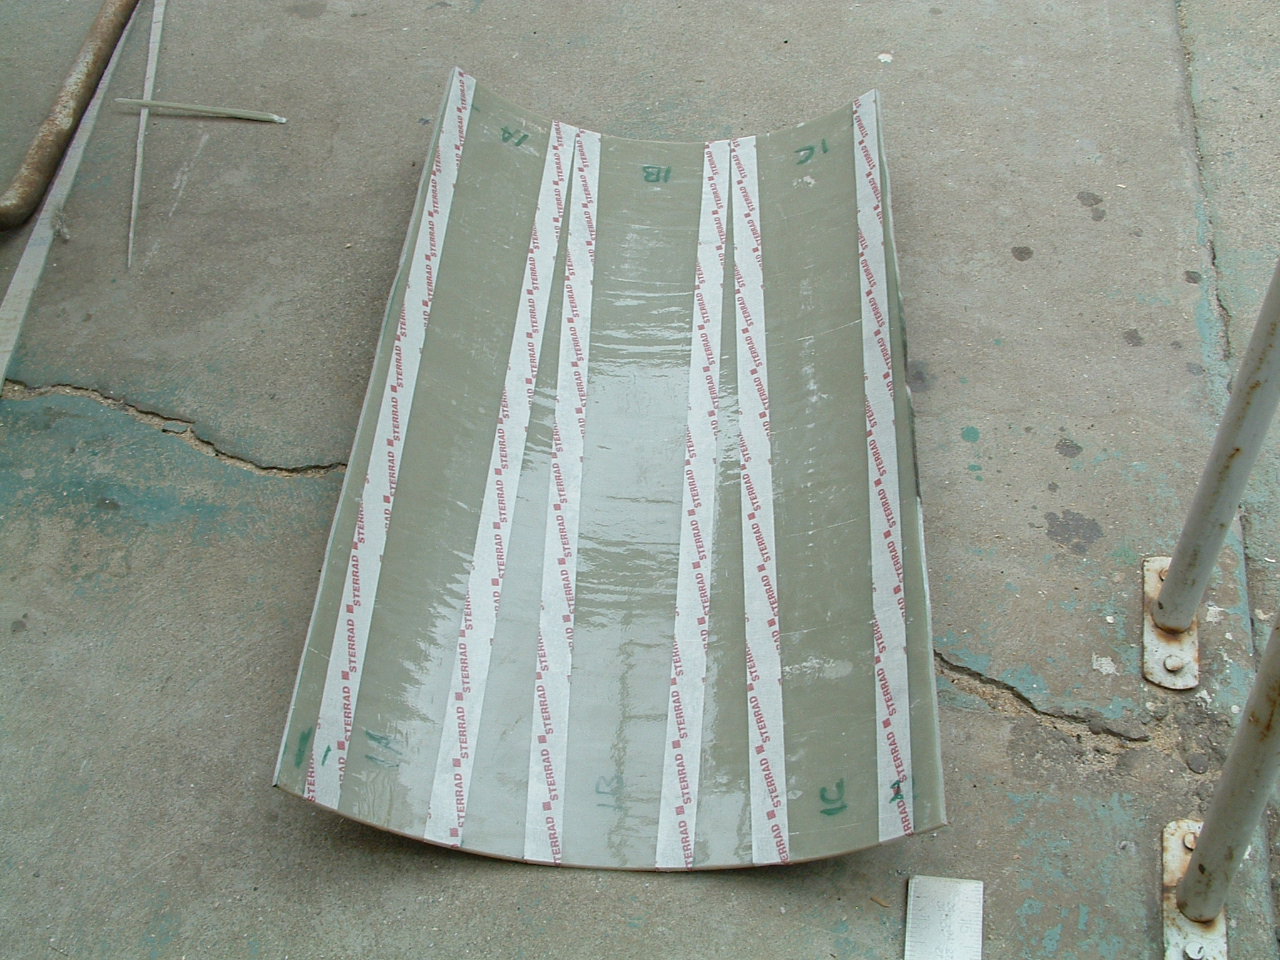
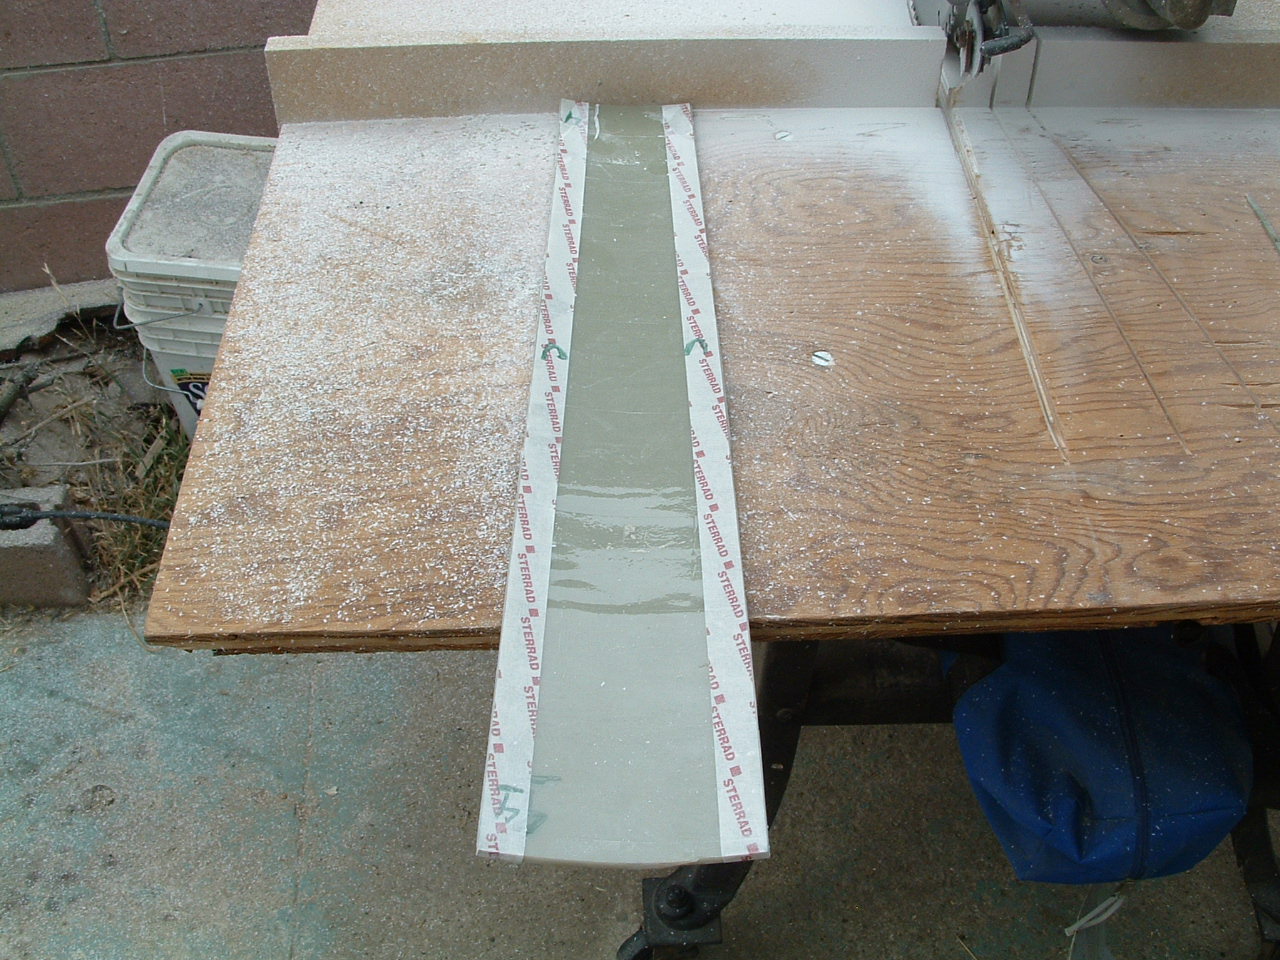
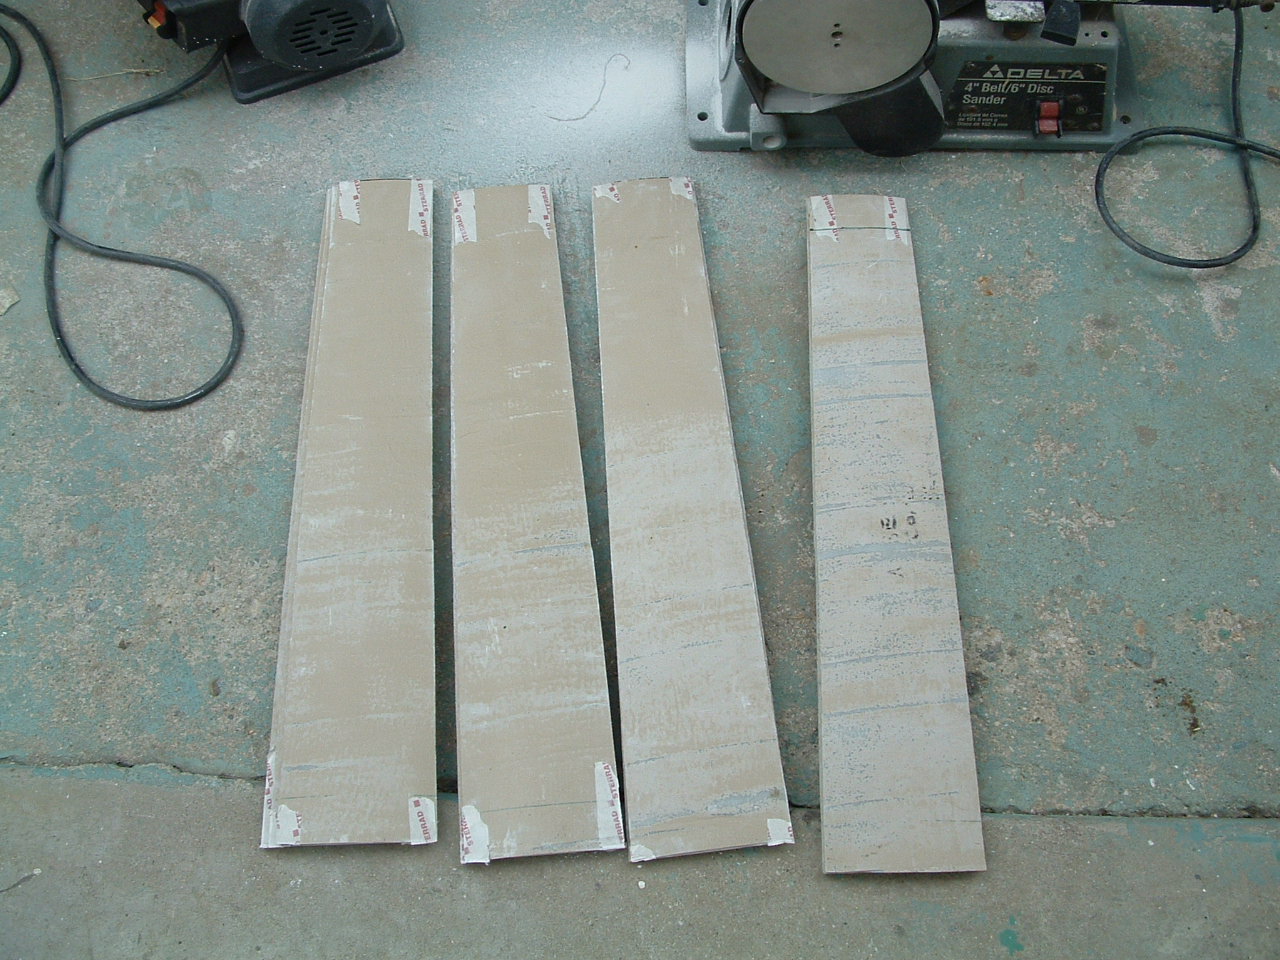
All ribs & rings were then coated with thickened epoxy and all panels were set in place.
bulletBungee cord and a ratcheting tie down were to hold the panels in place.


For problems or questions regarding this web contact WebMaster@BlackBrant2.com
This page looks best when viewed on my computer and was last updated on 01/24/09
THE BLACK BRANT PROJECT on the verge of insanity