It serves to hold the nose cone. The Nose cone extends into the
payload section 18".
Directly under that is the main parachute, and under that is the the
main bulkhead.
At the aft most end the main coupler will be epoxied to the end.
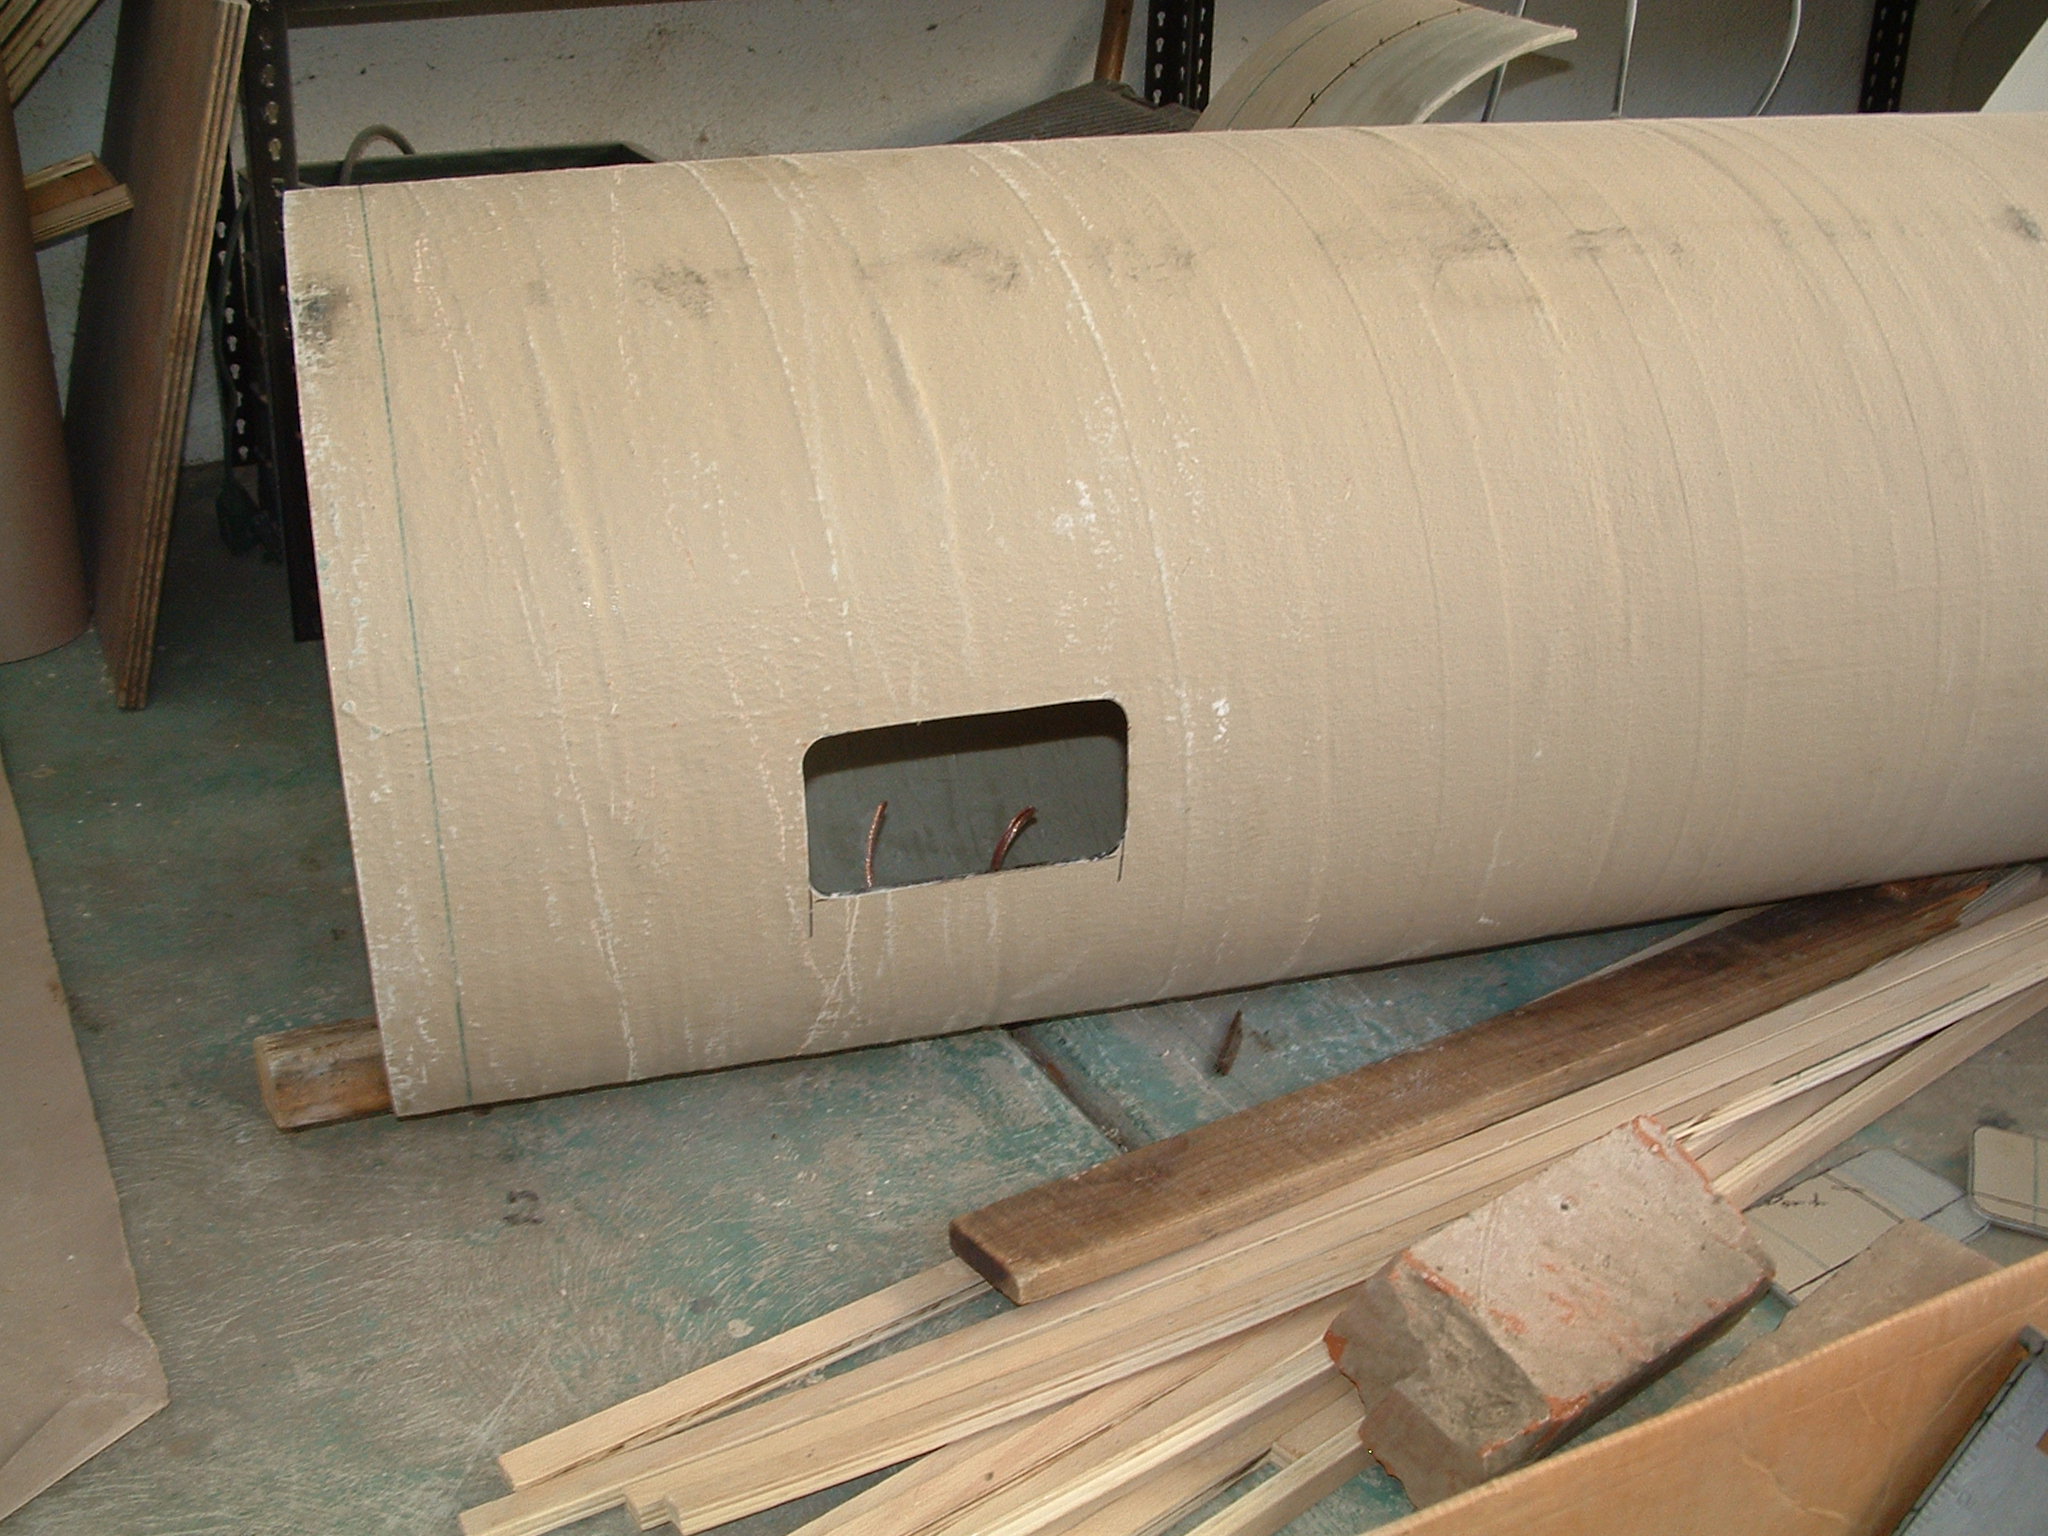
The aft most section of the payload section contains the hatches (on
both sides) for the primary and backup electronics bays.
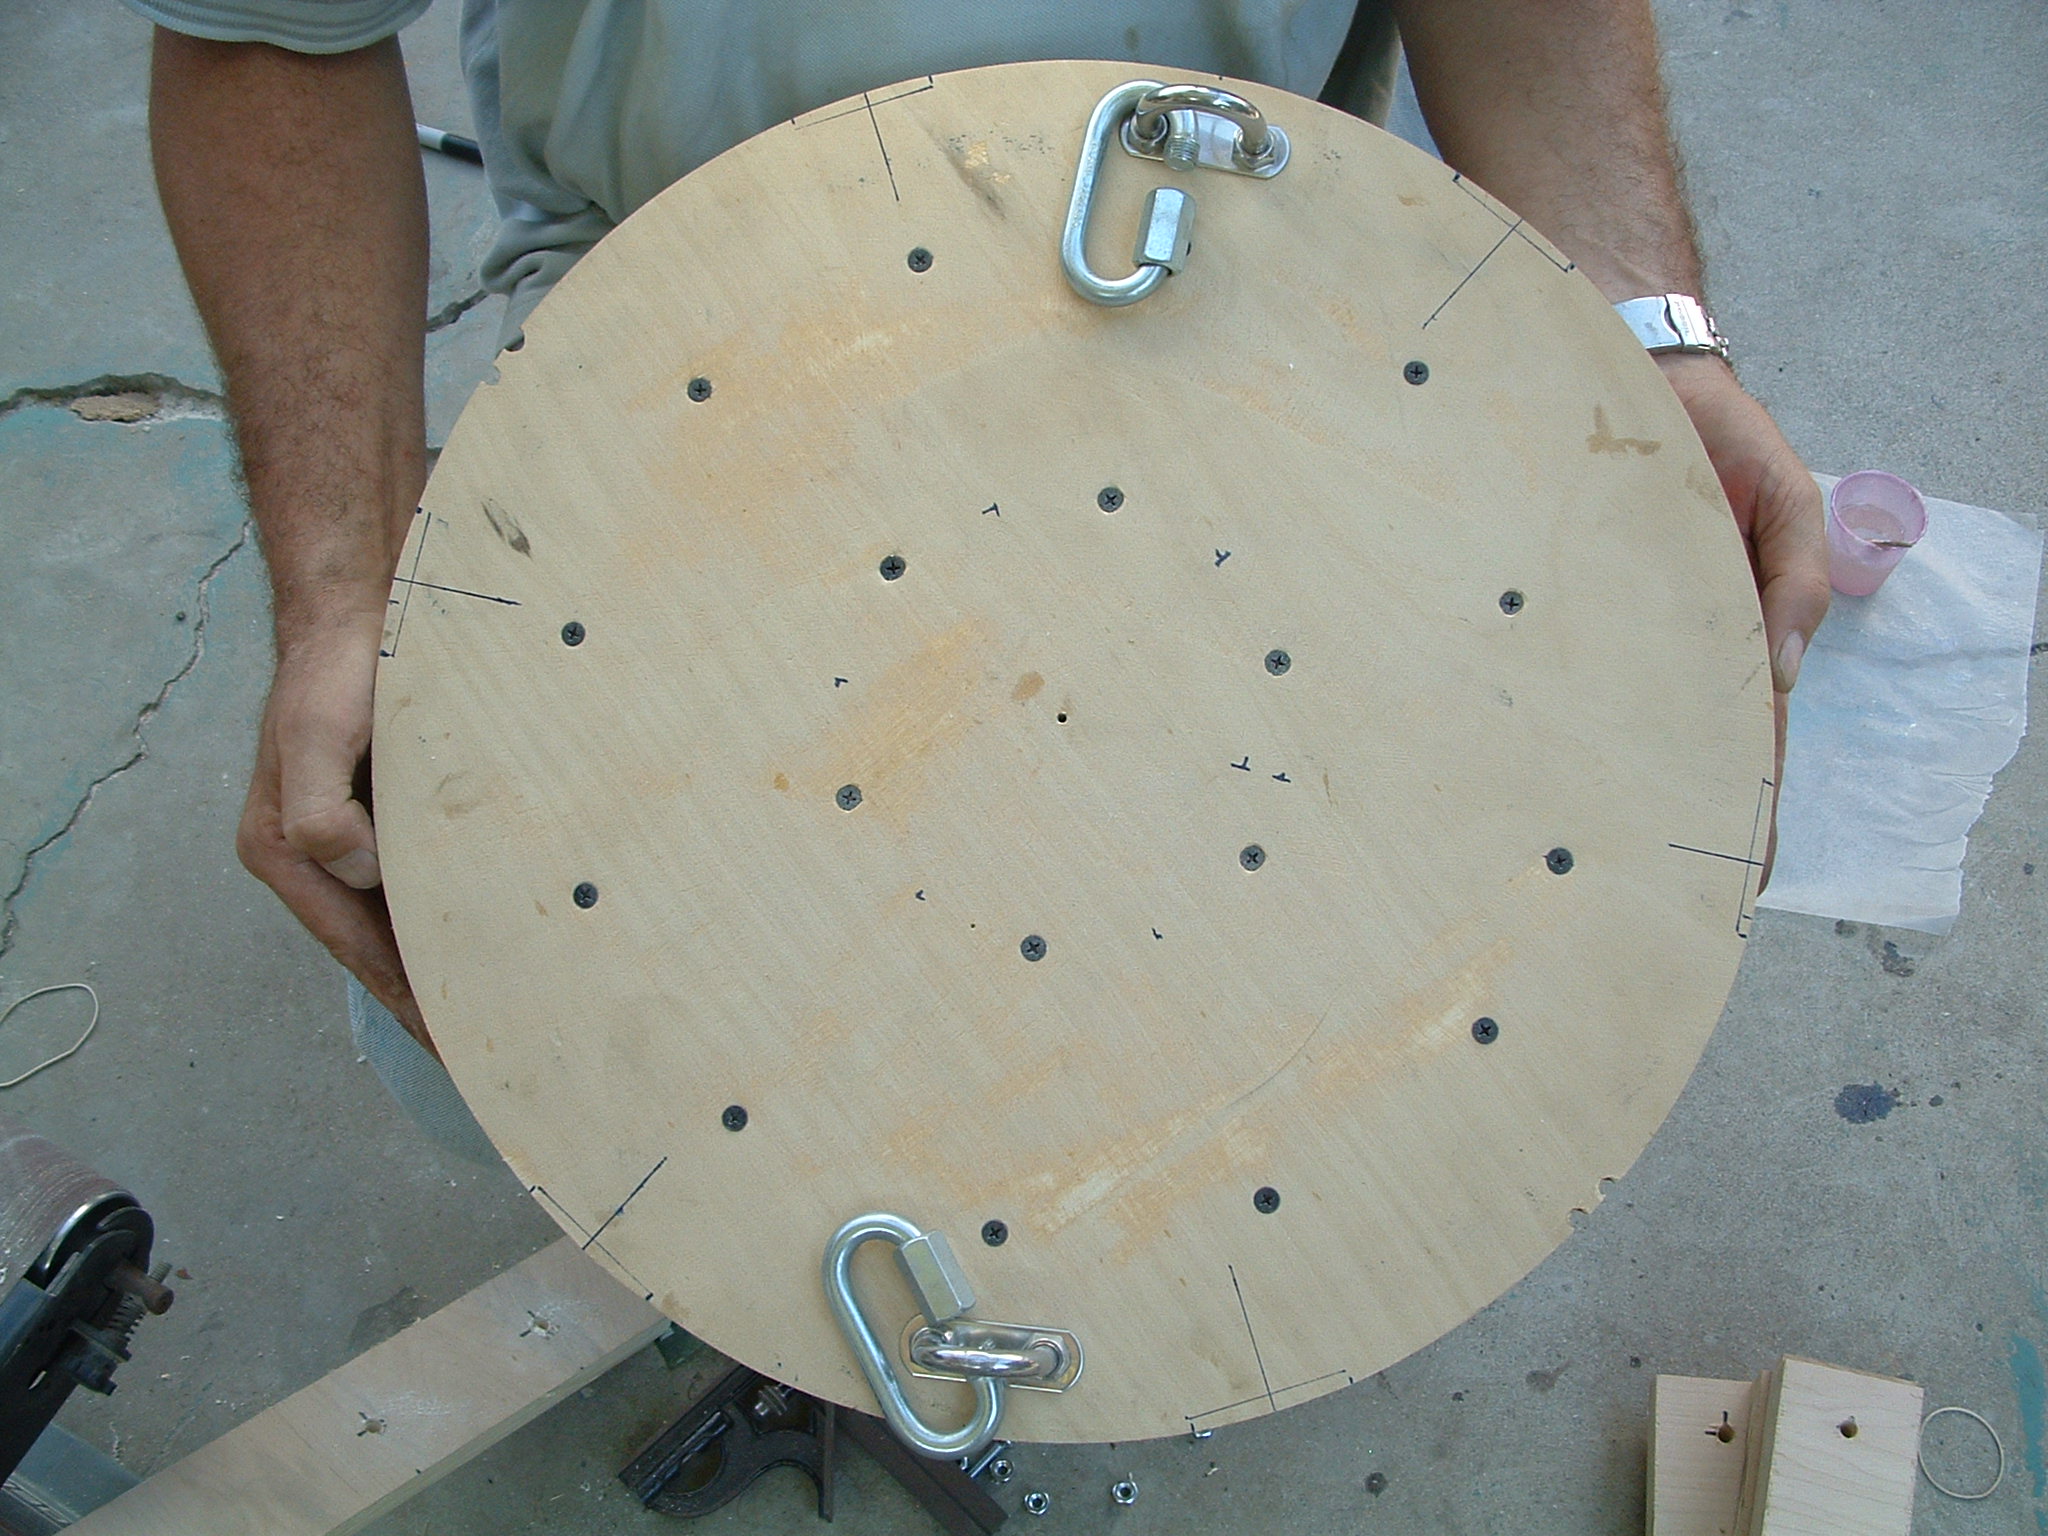
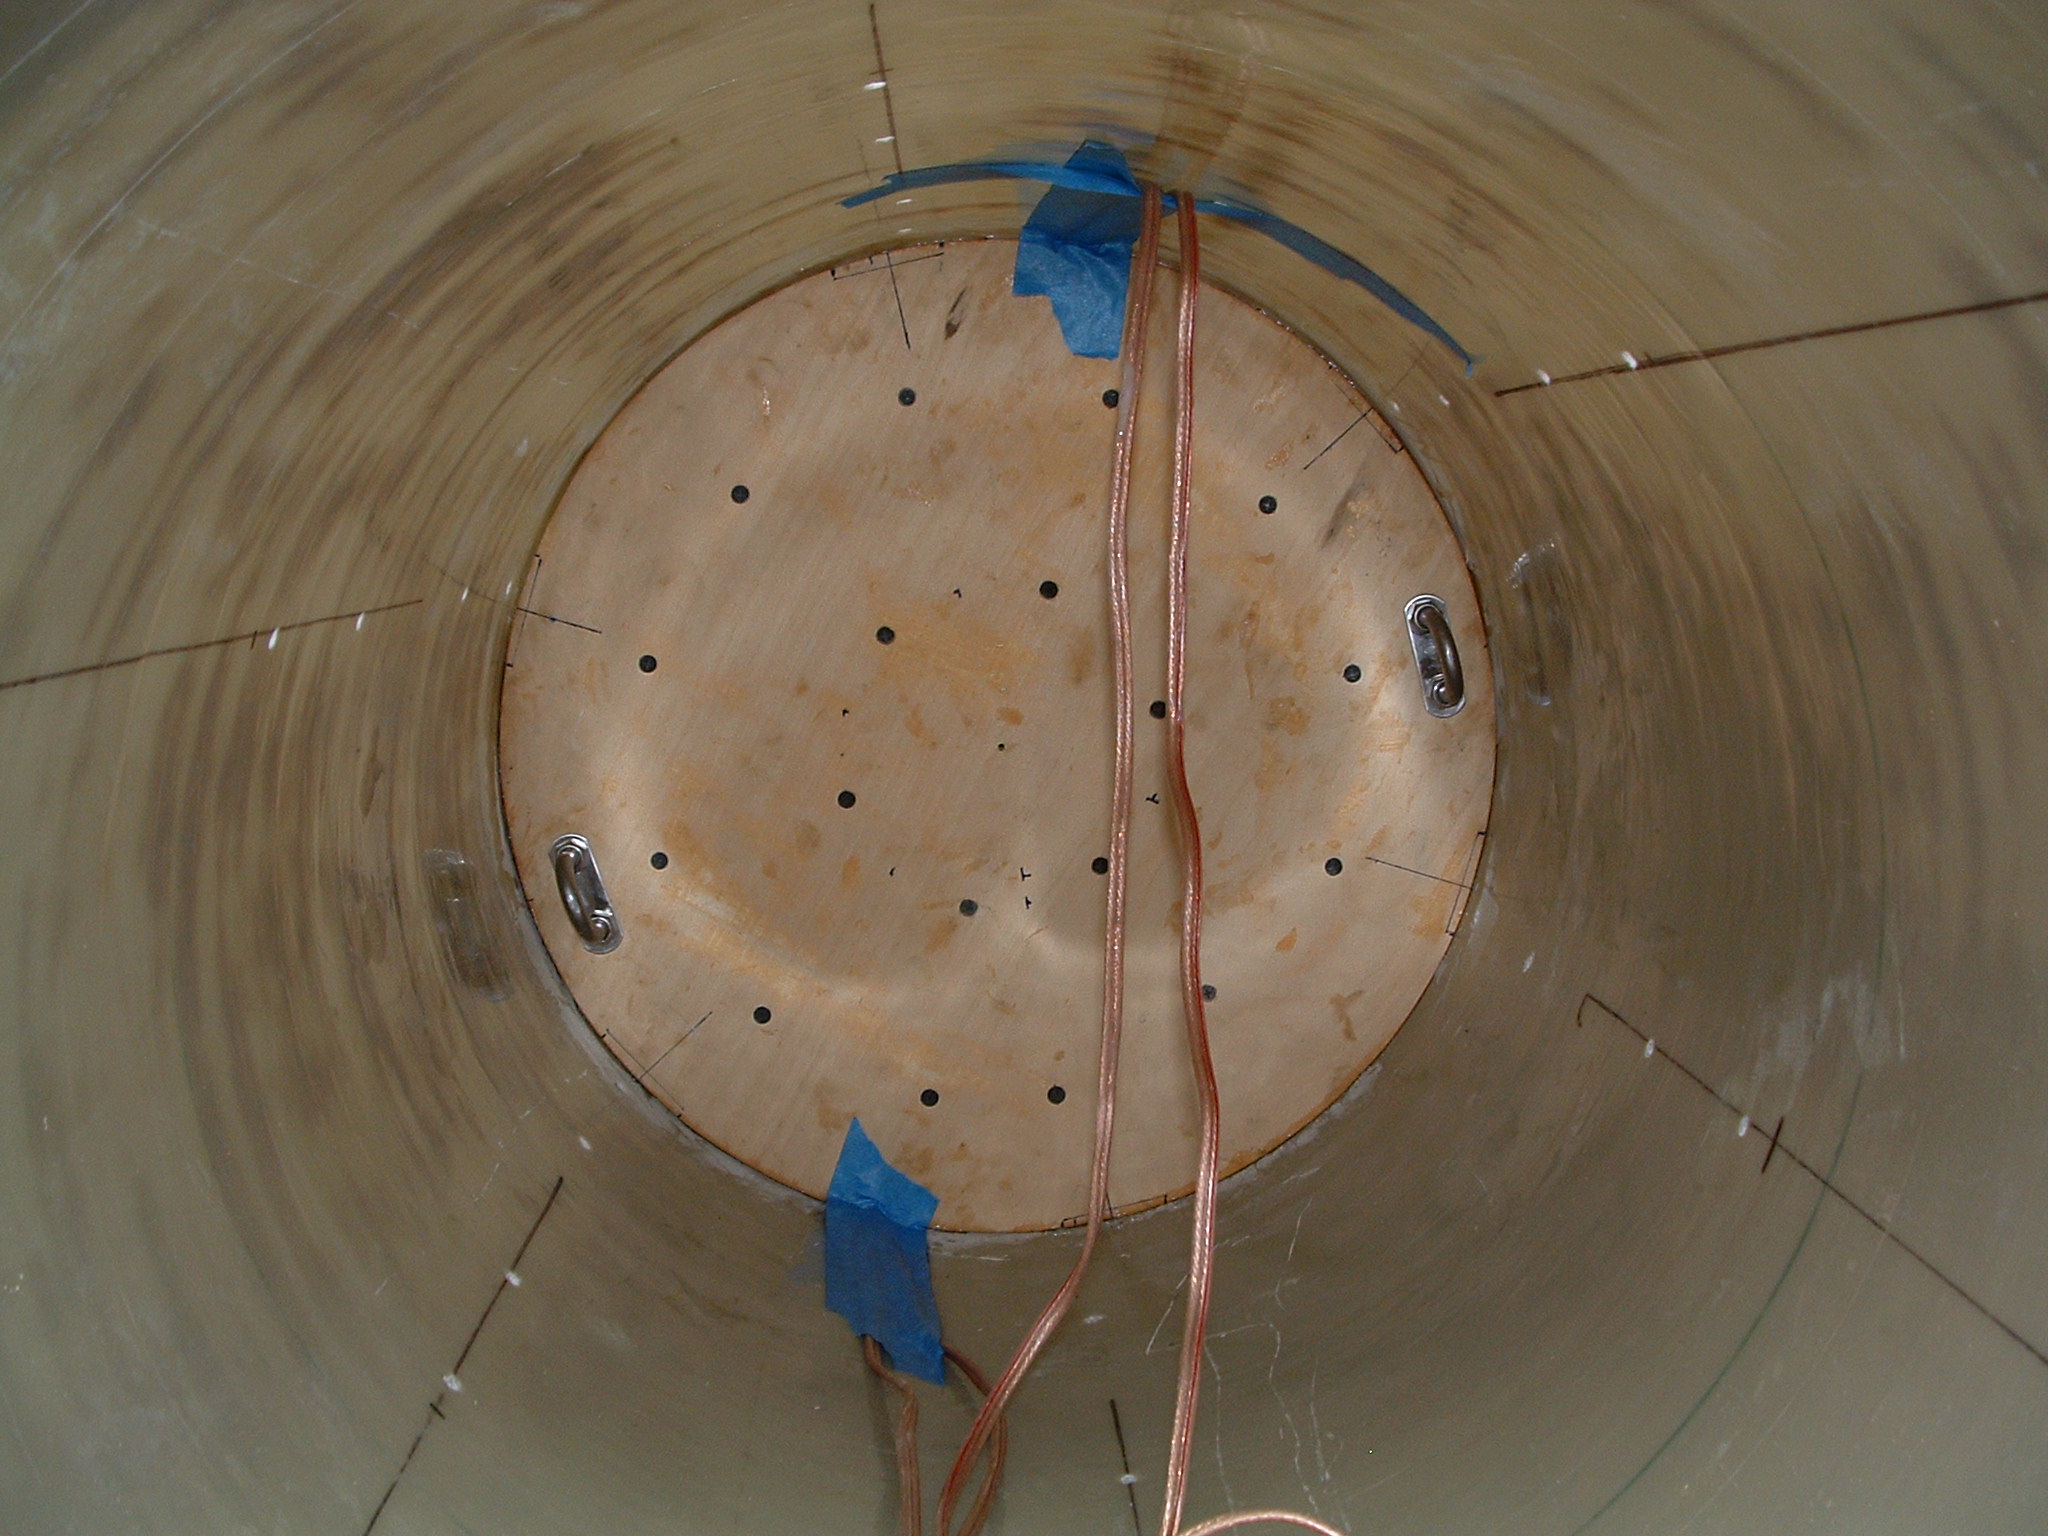
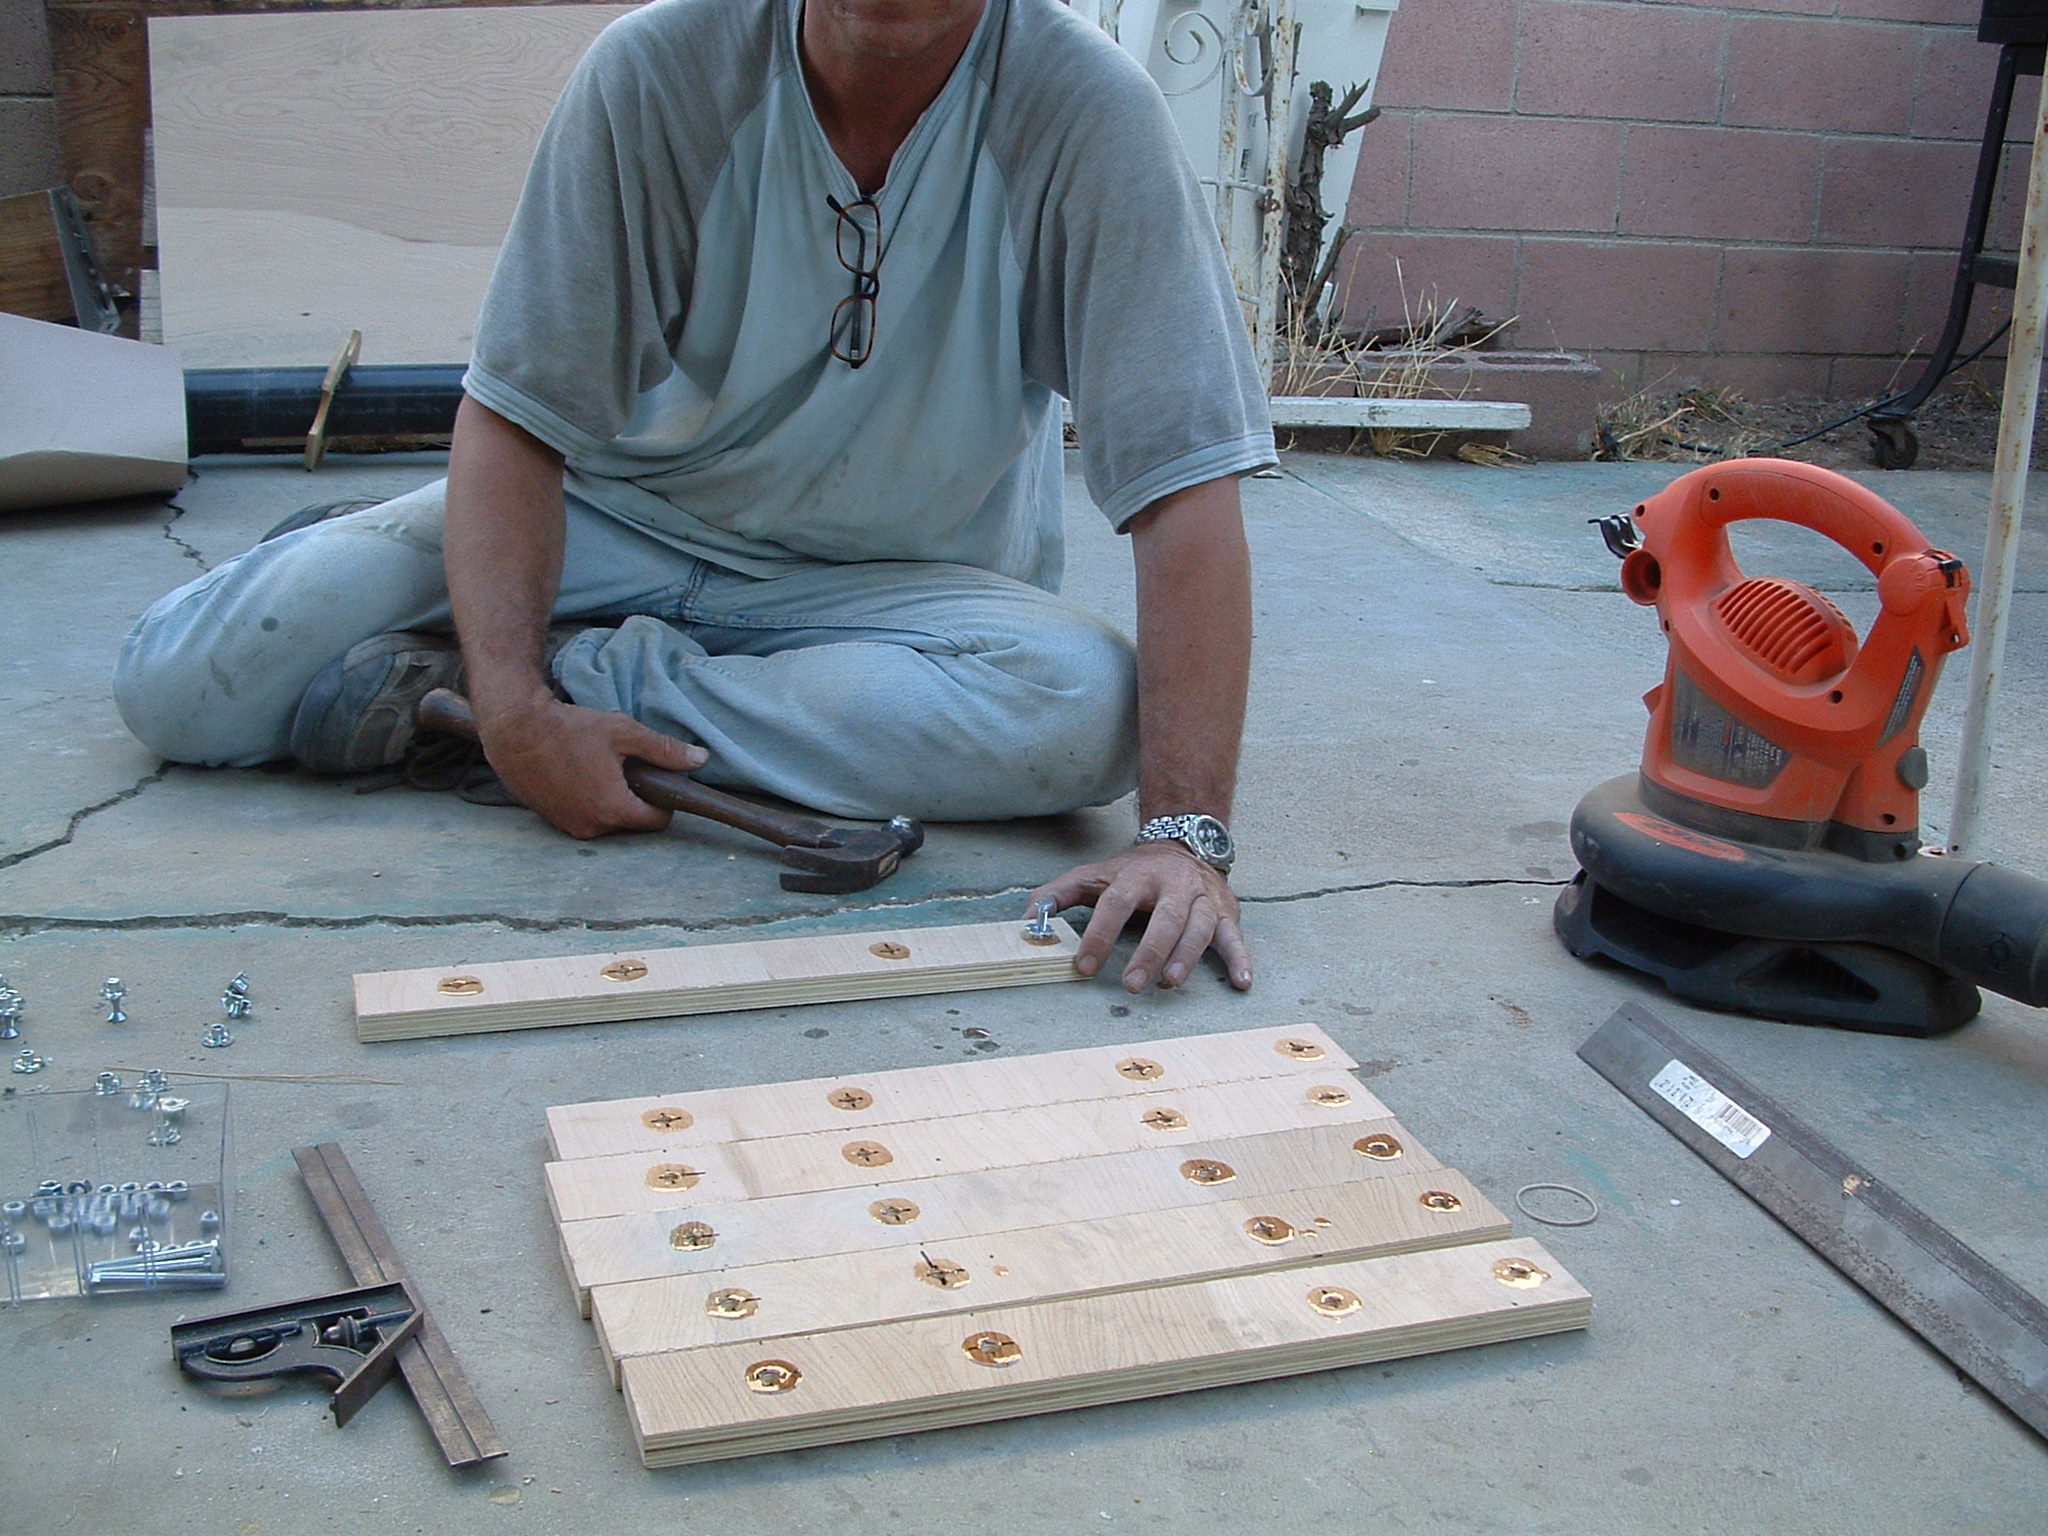
Main Bulkhead
The main bulkhead serves as the main chute attachment point.
Two layers of 3/4" plywood were epoxied together and the joined with
wood screws.
Two stainless steel u-bolts will be the main chute hard points.
The four notches around the rim are for the main chute wiring.
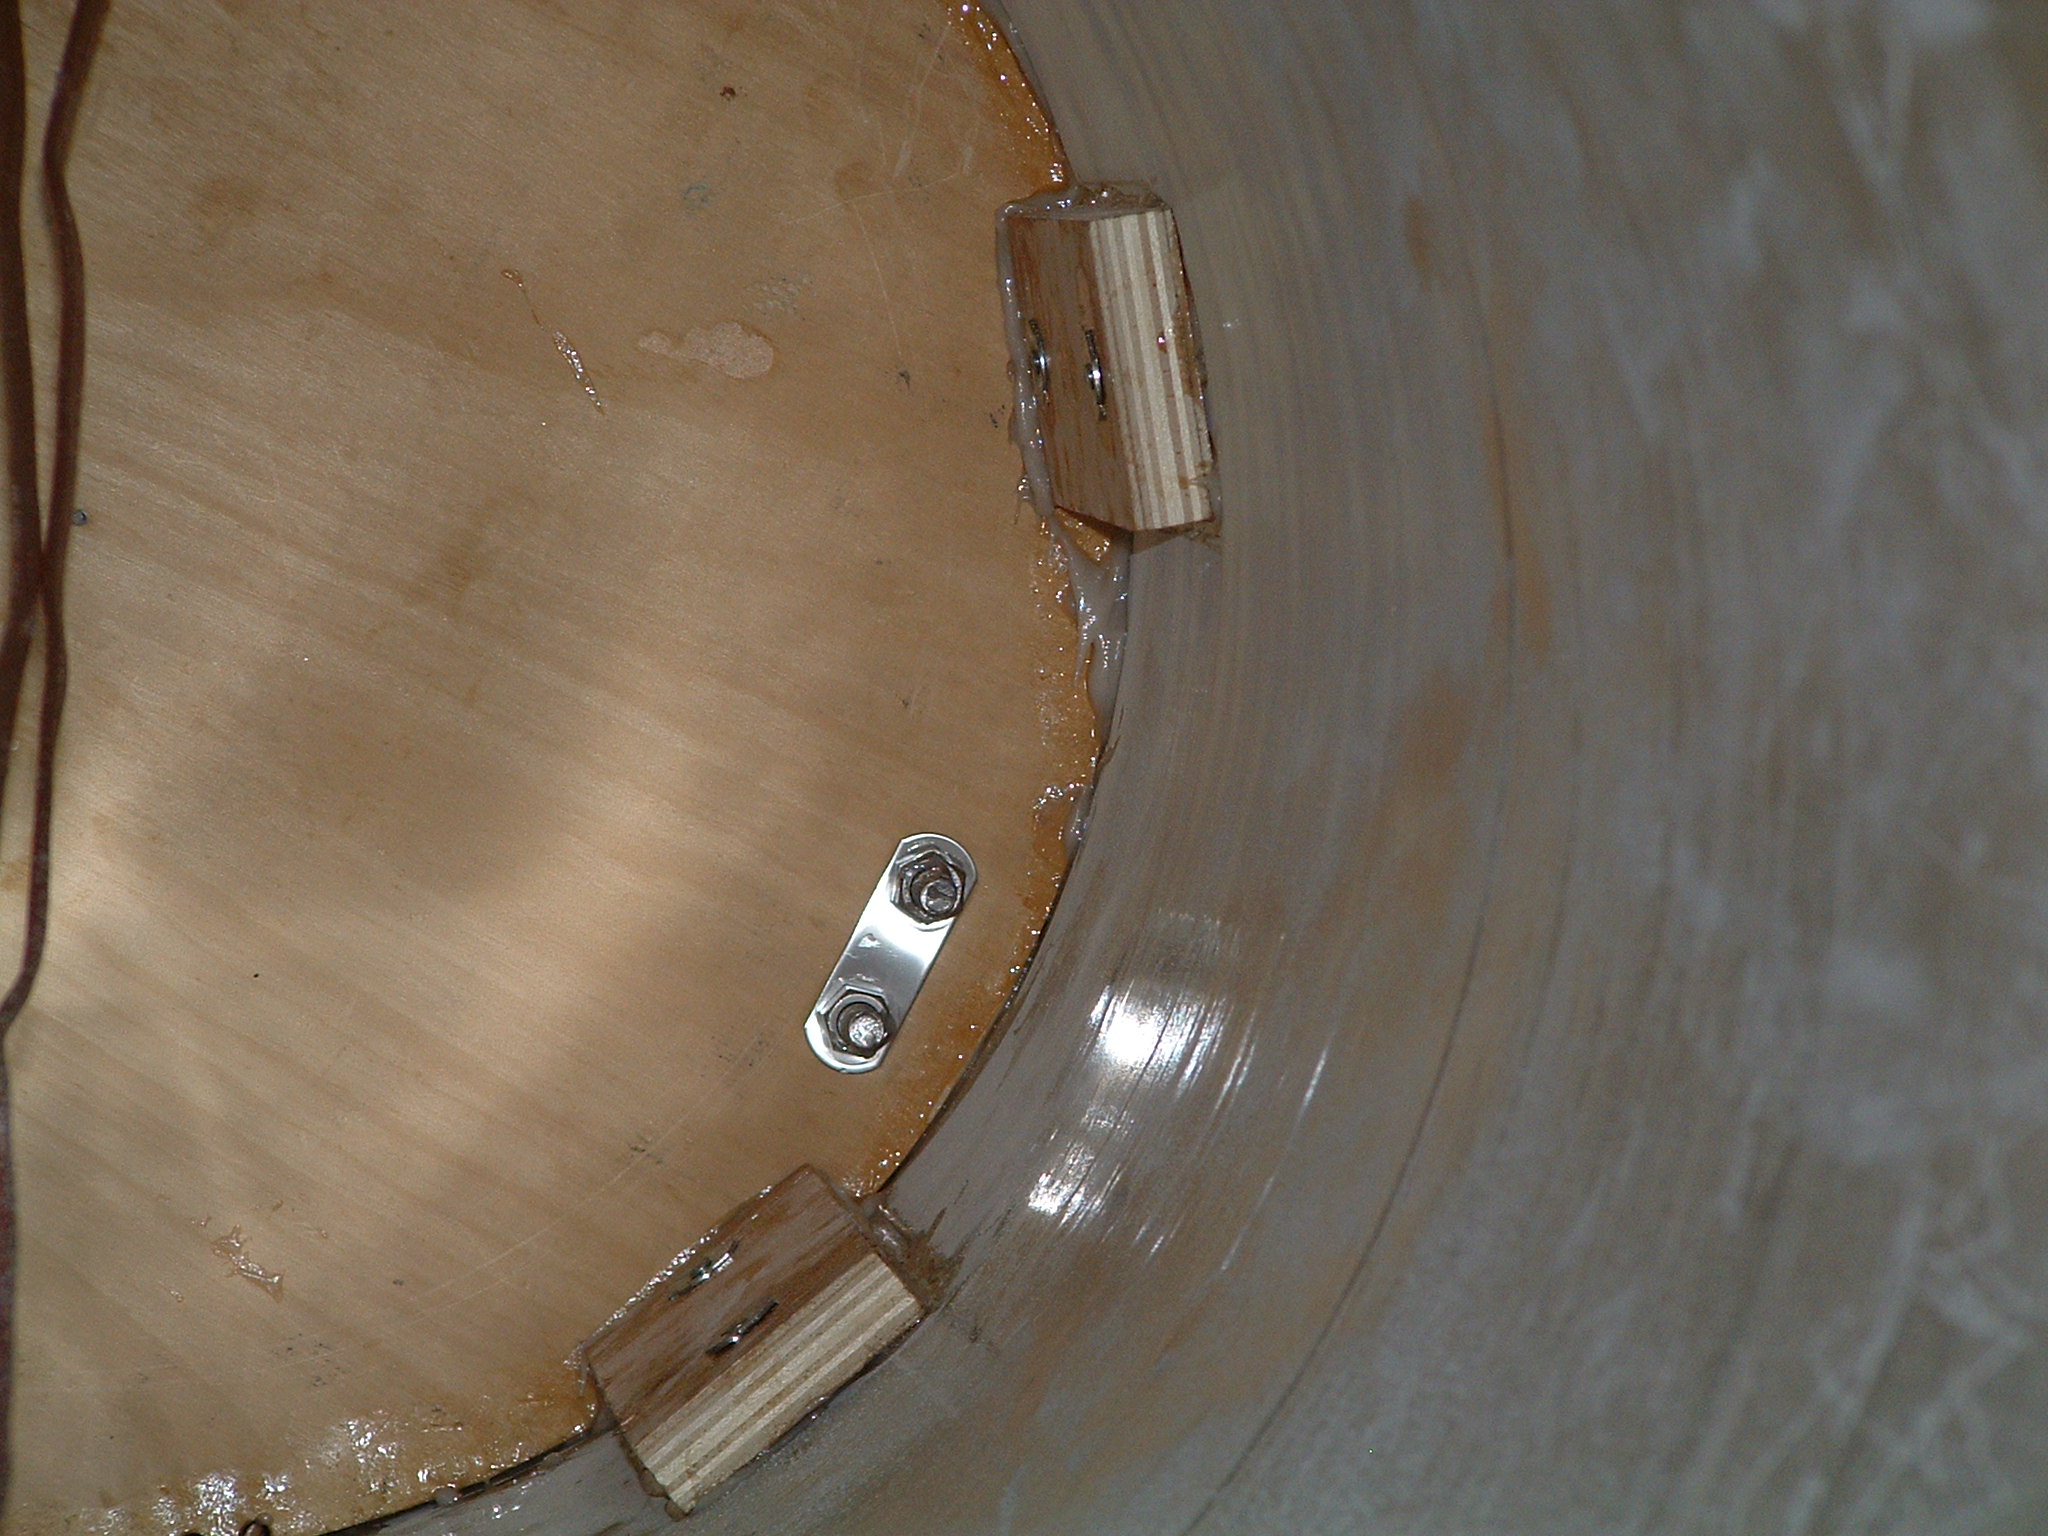
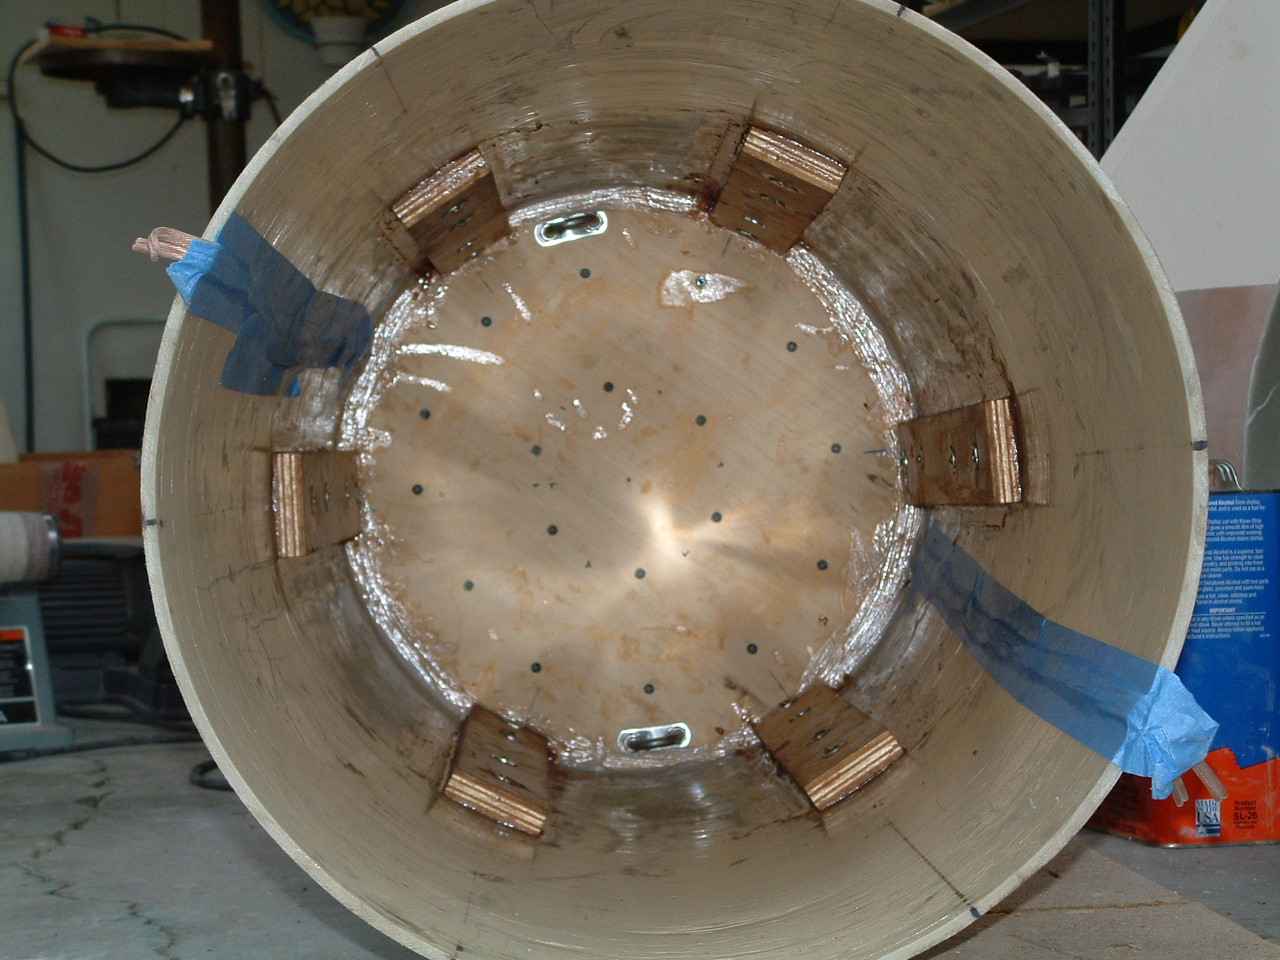
Lower Support
6 ribs of 2.5" wide, 6" long, 3/4" thick plywood make up the lower
supports for the main bulkhead. These ribs will keep the bulkhead from
traveling aft during ejection.
These ribs are epoxied to the payload section and bolted with two
1/4-20 screws each.
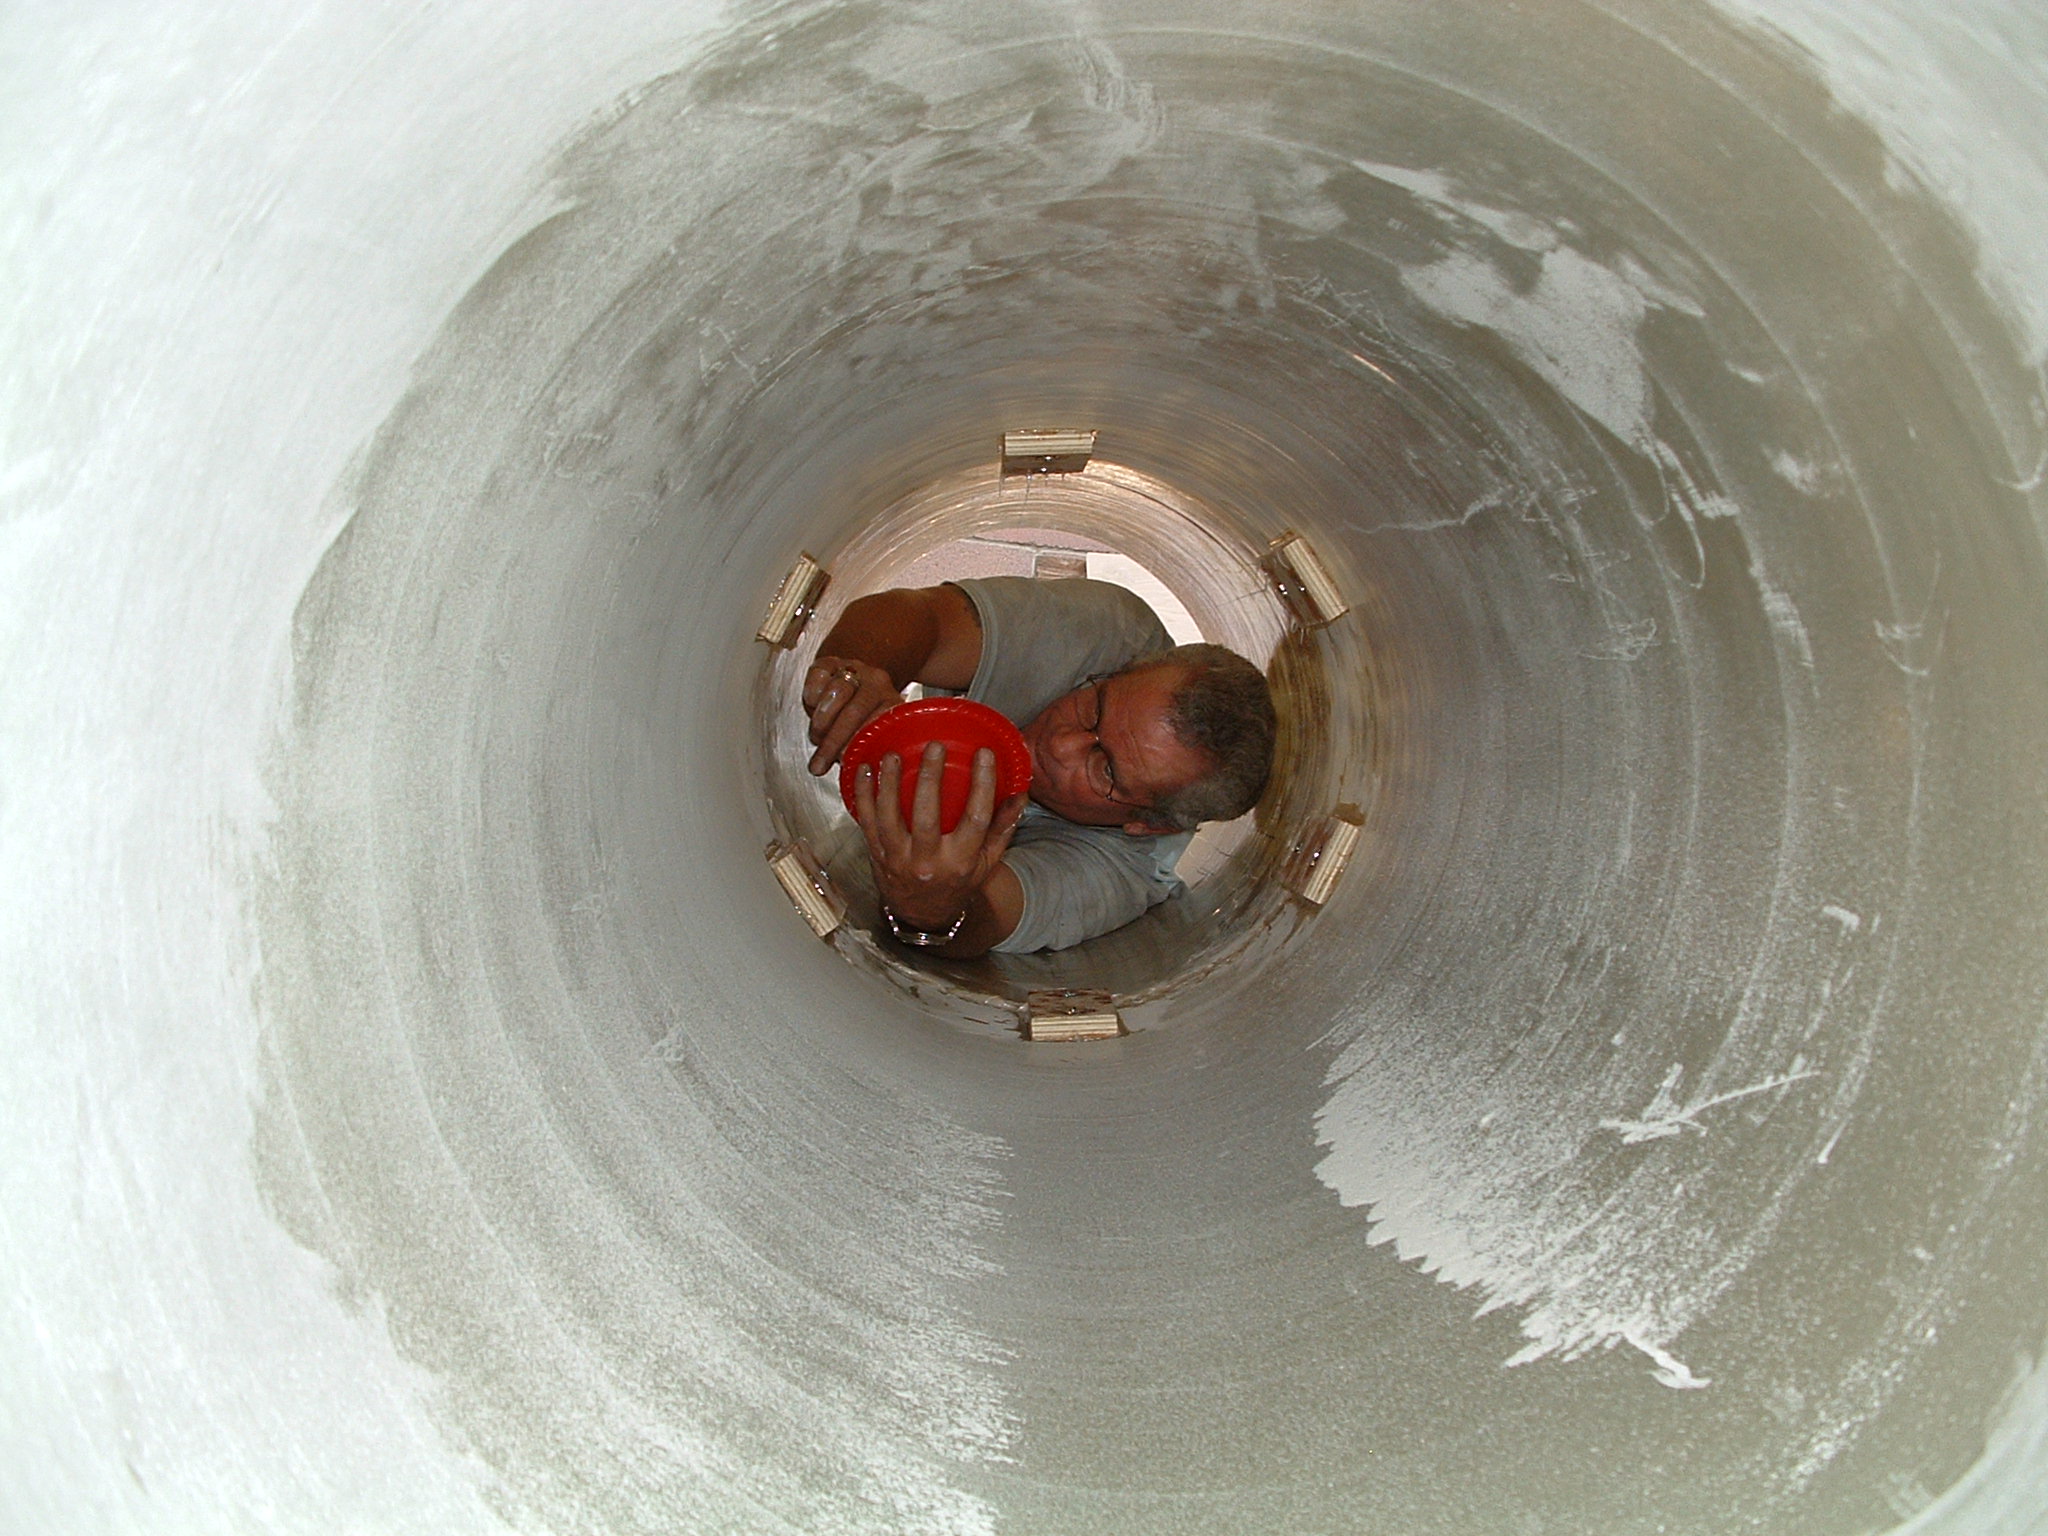
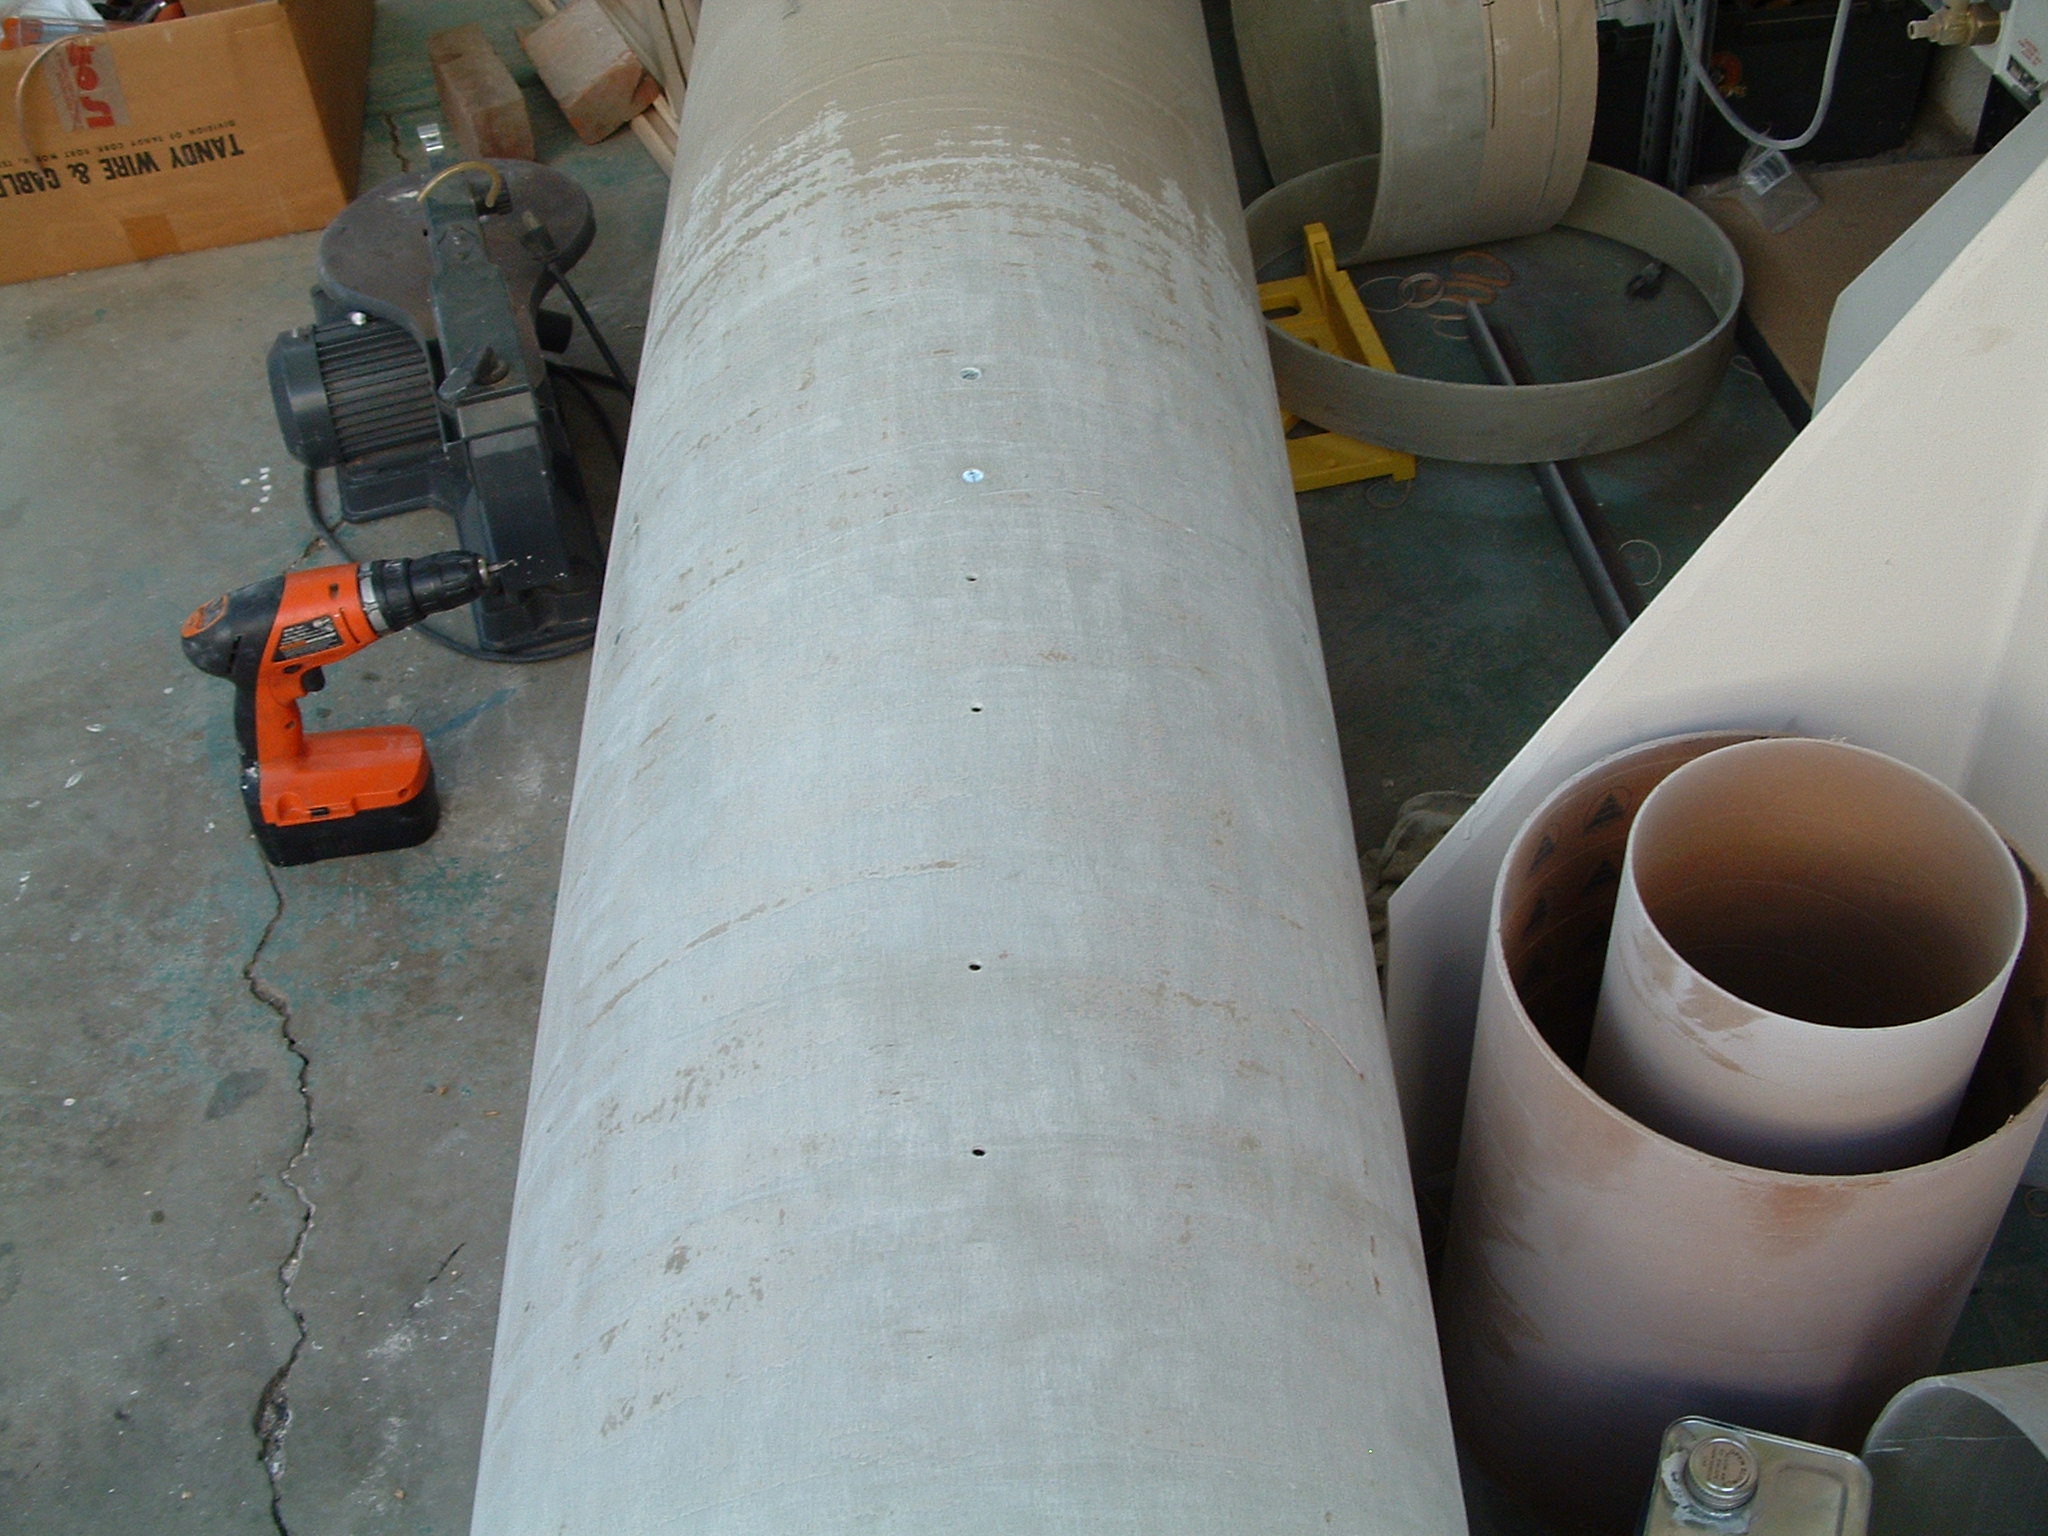
This first picture shows me apply and epoxy bead to seat the main
bulkhead. What may not be clear is I'm in the rocket to about
mid-thigh level to do this step.
Seating the bulkhead
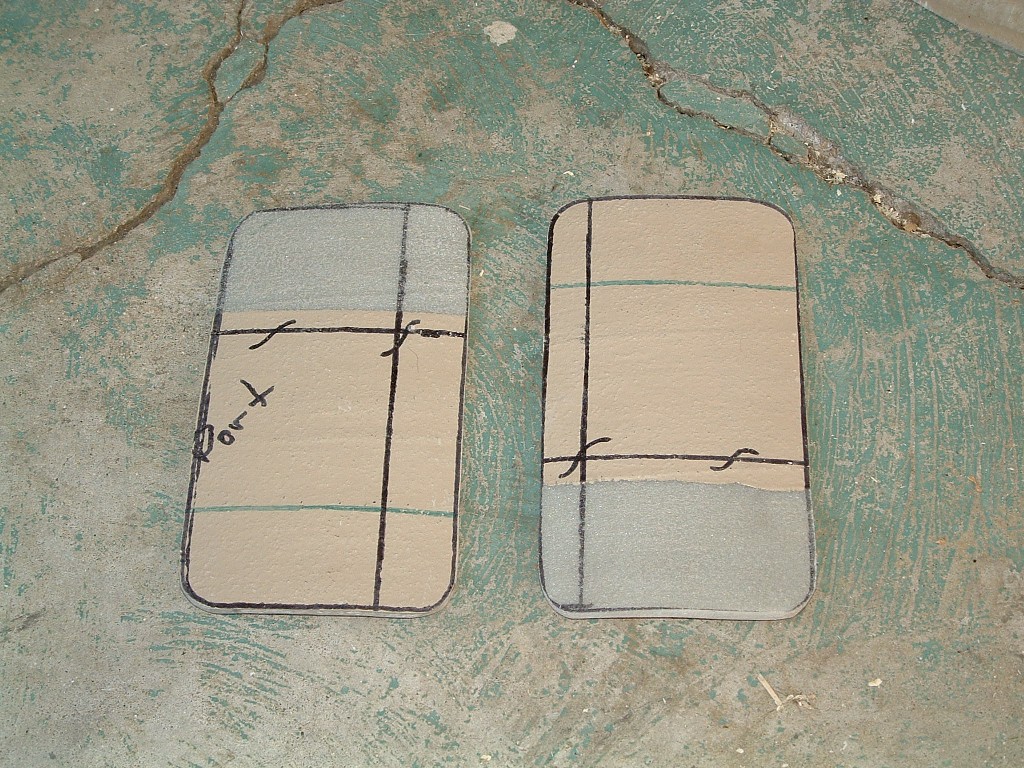
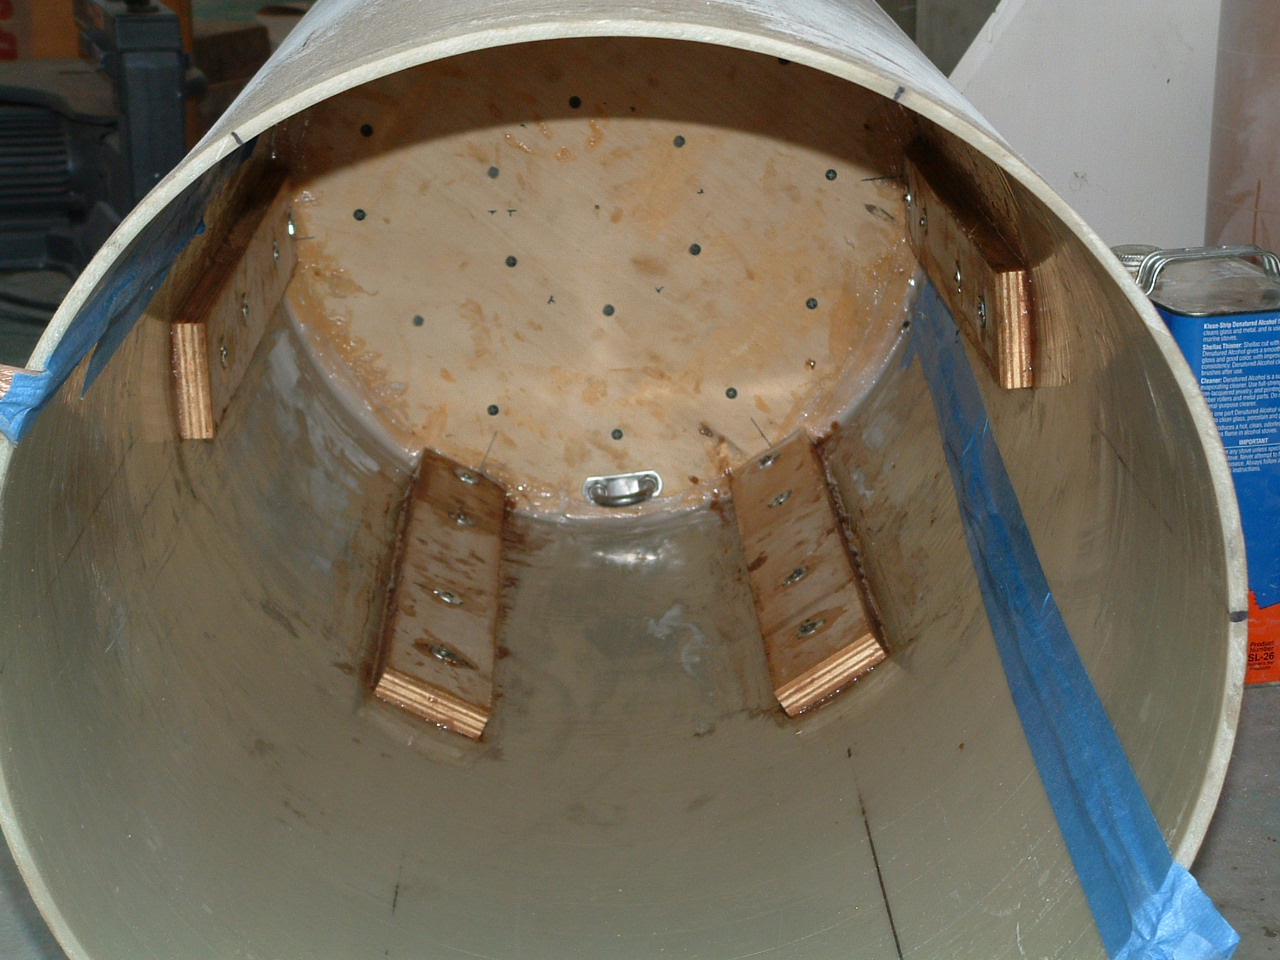
Here's a forward (first) and aft view of the main bulkhead.
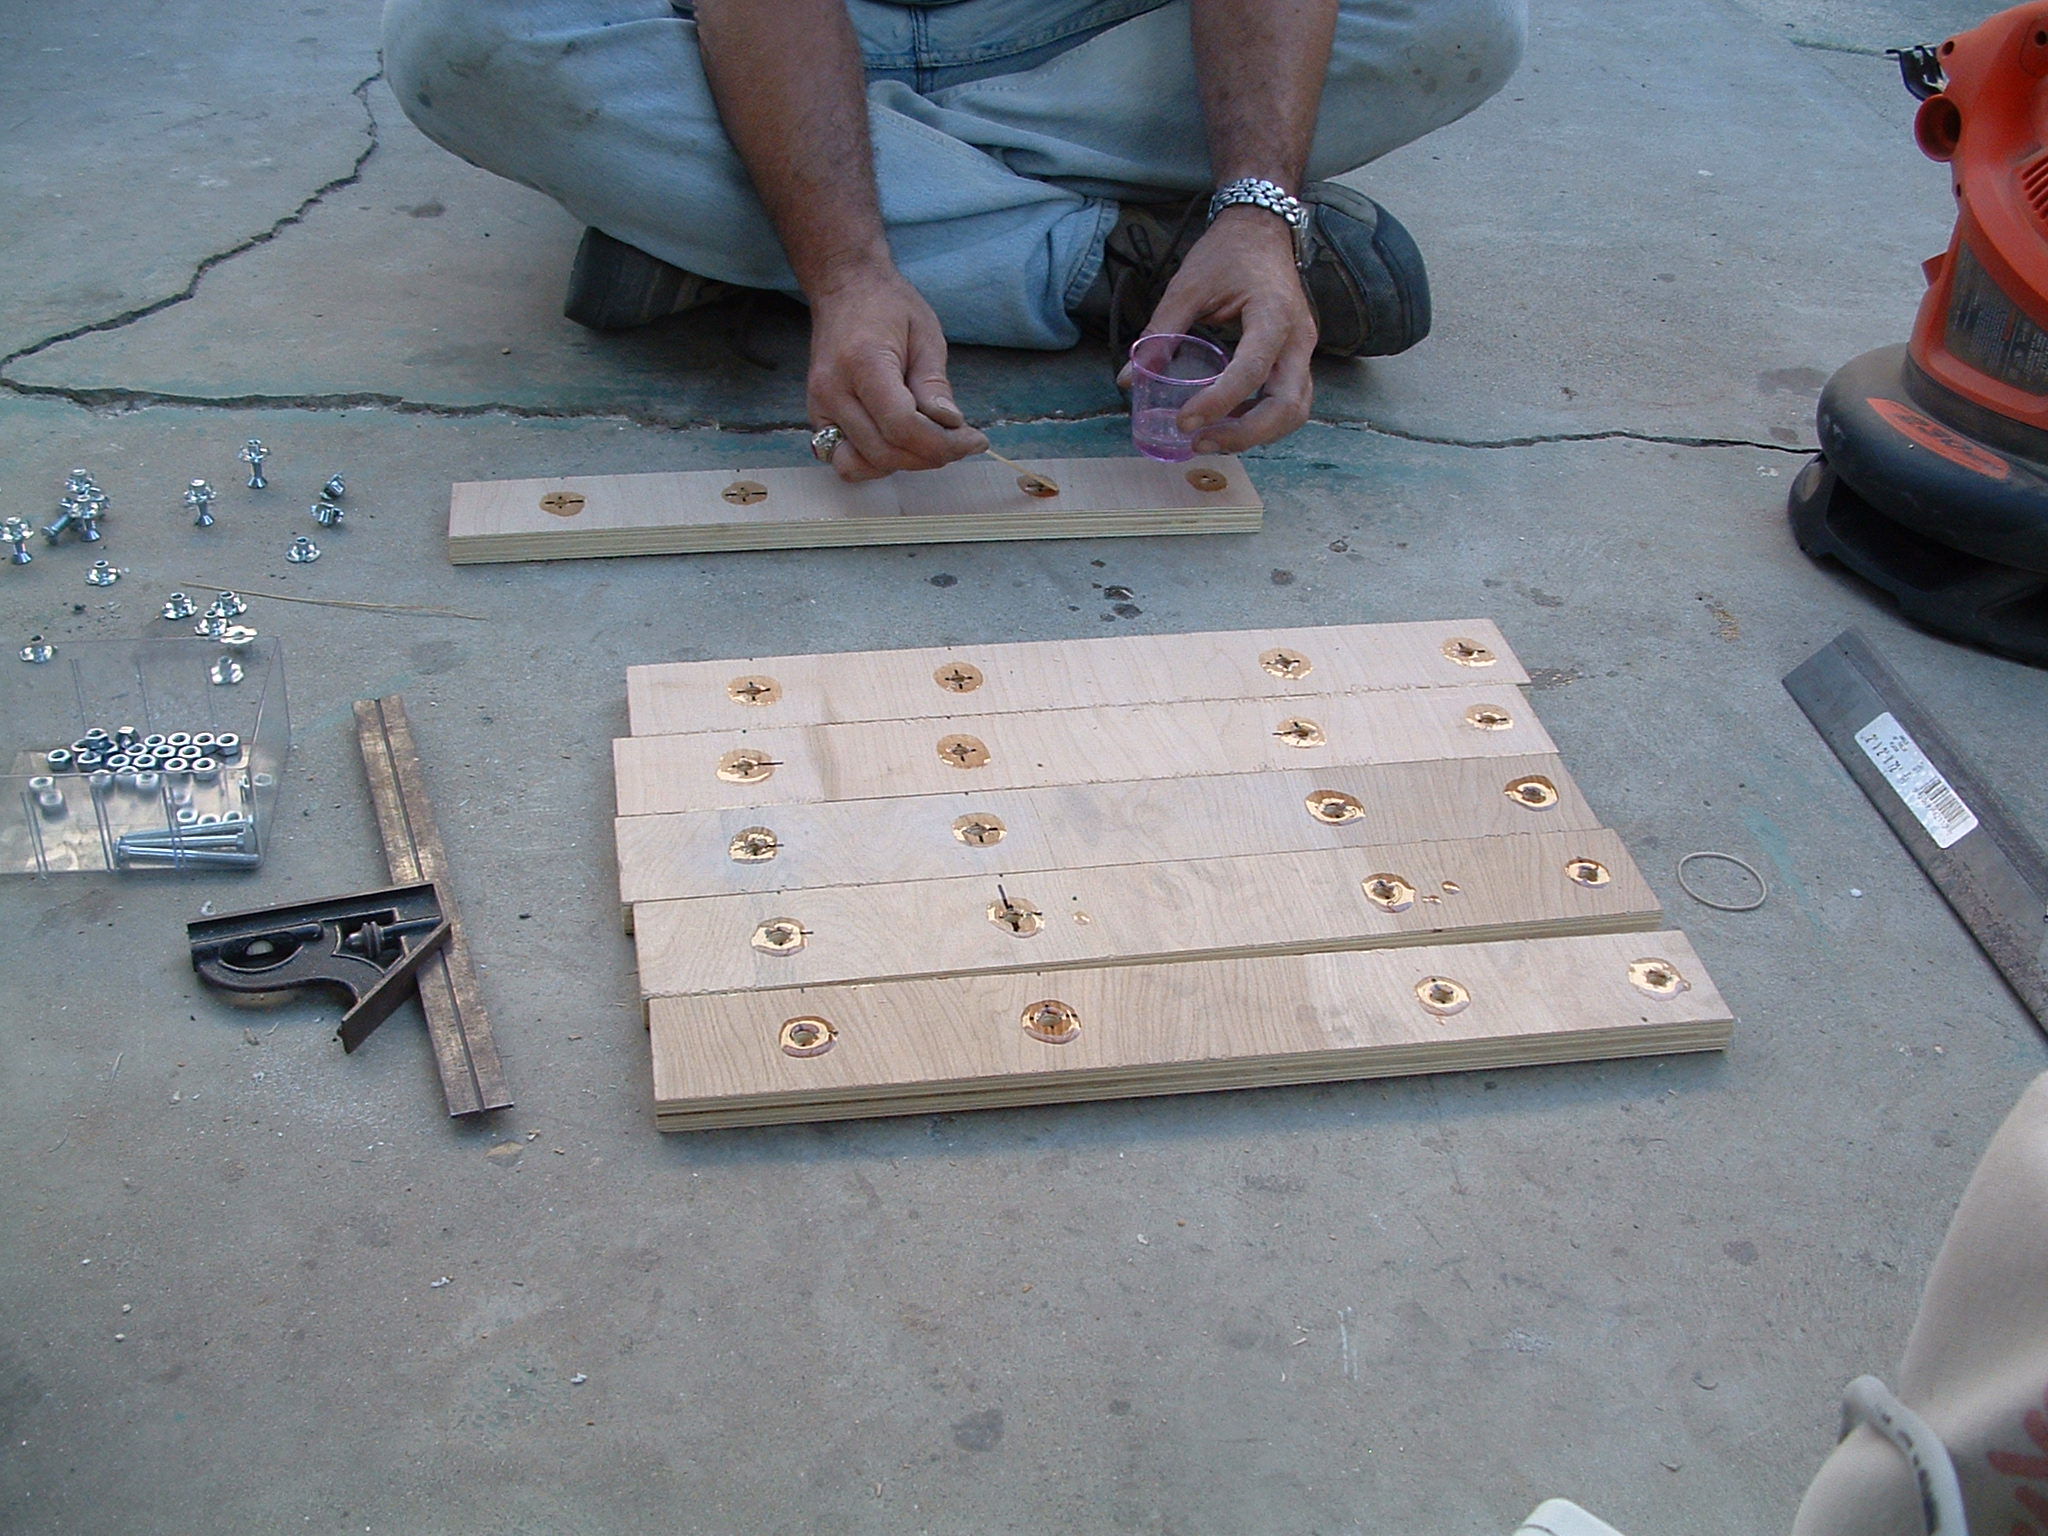
Forward supports
The forward support are the same thickness and width as the lower
supports.
Holes for the T-nuts were wetted out with epoxy before driving in the
nuts.
Over-kill? Maybe, but at 663 pounds on the pad, what would you be
doing?
Forward supports Installation
The forward support are epoxied and bolted to the airframe in four
places.
Not sure if the epoxy or the bolts will be holding the entire load.
With bolts alone the force will be 83 pounds per bolt.
With epoxy alone this represents 7 PSI.
Between the two it should hold, and we will all know the answer when
it flies.
I like to say a special thank you to Melinda Catalano for her
assistance in getting the upper and lower supports bolted down.
For problems or questions regarding this web contact
WebMaster@BlackBrant2.com
This page looks best when viewed on my computer and was last updated
on
01/24/09
THE BLACK BRANT PROJECTon the verge of insanity